本記事の概要
Splunk SOARとは、セキュリティインシデントの検知から調査、対応までのワークフローを自動化することで運用効率を大幅に向上させるプラットフォームである。
Splunk SOARの評価版として1日あたり100件までのアクションを無料で実行することができる。
本記事ではSplunk SOARの評価版をインストールする手順を記載する。
以下の構成でSplunk SOARを構築する。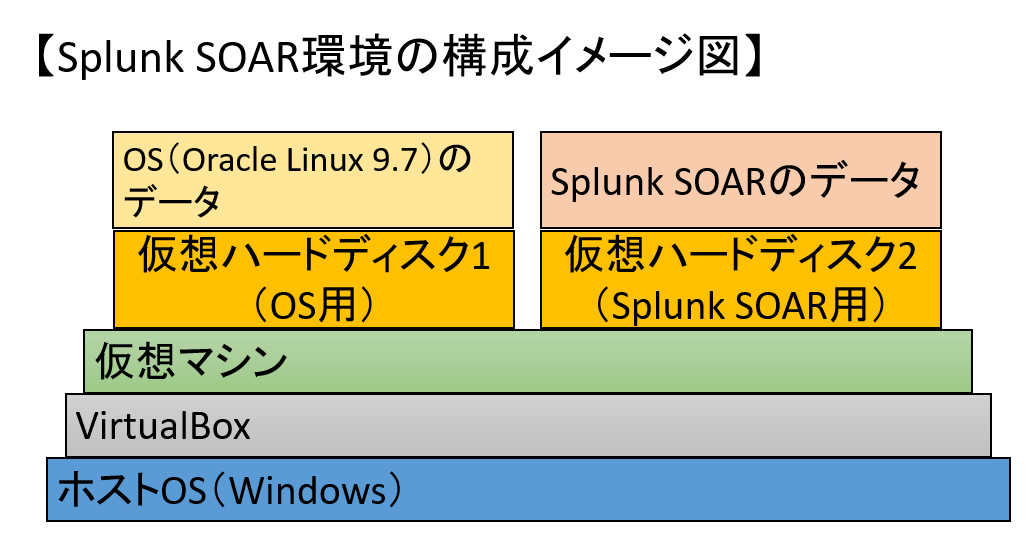
Splunk SOARのシステム要件
Splunkの公式サイトによると、Splunk SOARは以下のシステム要件を満たす必要があります。
| 項目 | 値 |
|---|---|
| オペレーティングシステム(OS) | ・Red Hat Enterprise Linux 8.10 ・Red Hat Enterprise Linux 9.0 ・Amazon Linux 2023 ・Oracle Linux 8.10 ・Oracle Linux 9 |
| Processor(CPU) | 最低4コアのCPUを1個 |
| メモリ容量 | 最低8GBのRAM、推奨16GB |
| ストレージ | 最低500GBのディスク容量 |
| ネットワーク | 1個のネットワークインターフェース |
Oracle Linuxのインストール
(1) ブラウザを用いて「https://yum.oracle.com/oracle-linux-isos.html」にアクセスし、Oracle LinuxのISOイメージファイル(OracleLinux-R9-U7-x86_64-dvd.iso)をダウンロードします。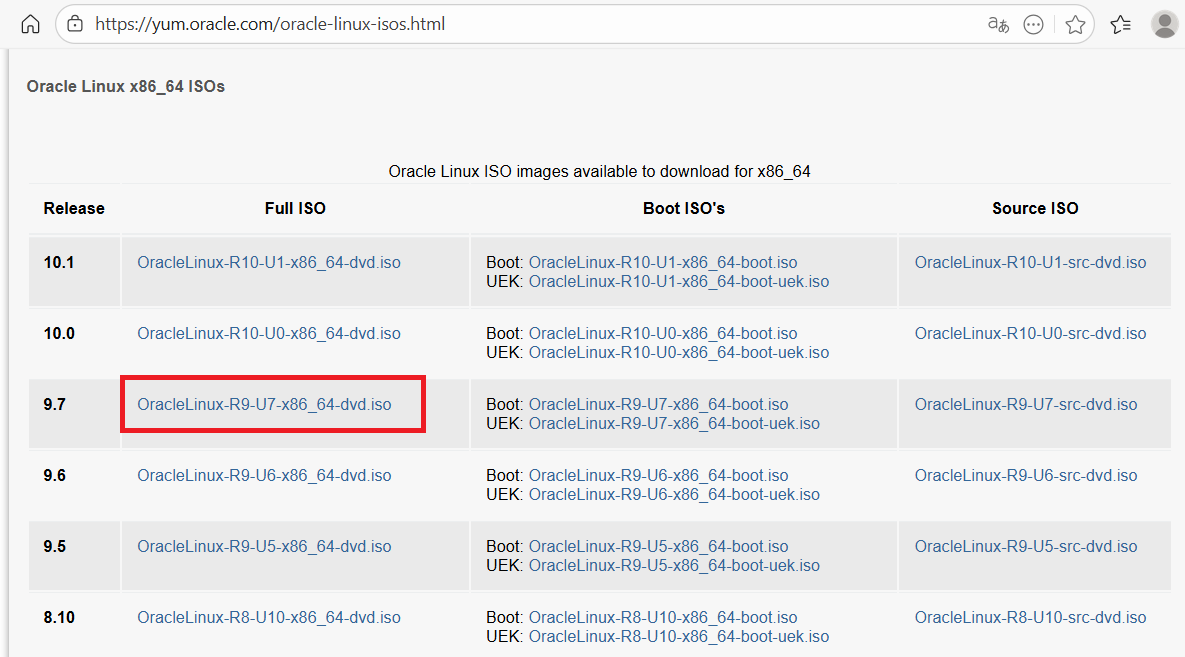
(2) Virtualboxを起動します。その後、「新規」をクリックします。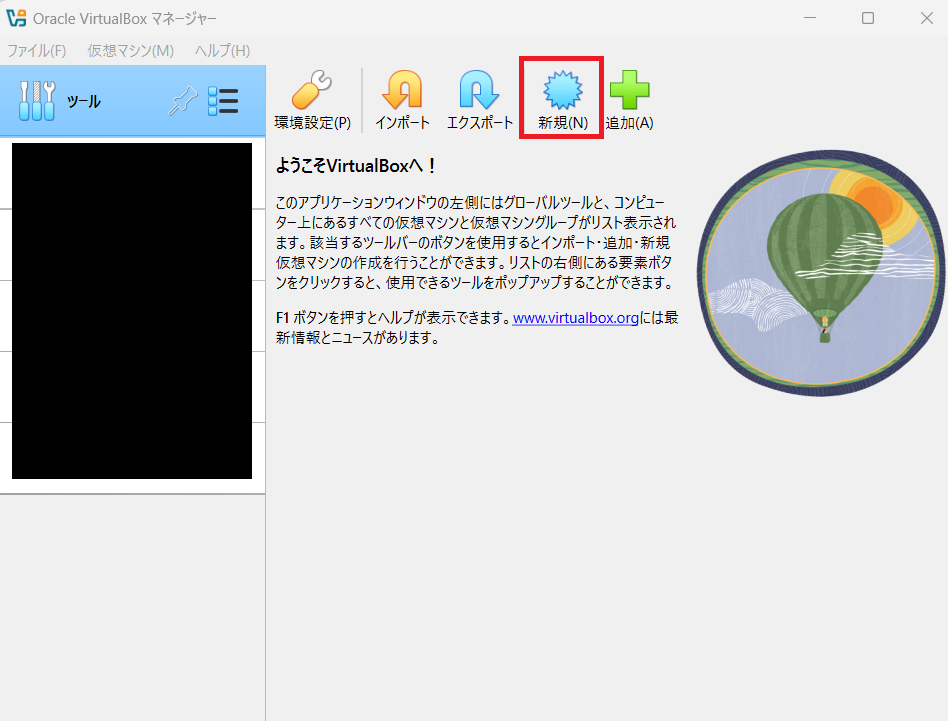
(3) 「名前とオペレーティングシステム」欄に、「名前」に任意の名前を入力し、「ISO イメージ」にダウンロードしたOracle LinuxのISOイメージファイルを設定します。その後、任意の「タイプ」、「Subtype」、「バージョン」の値を設定します。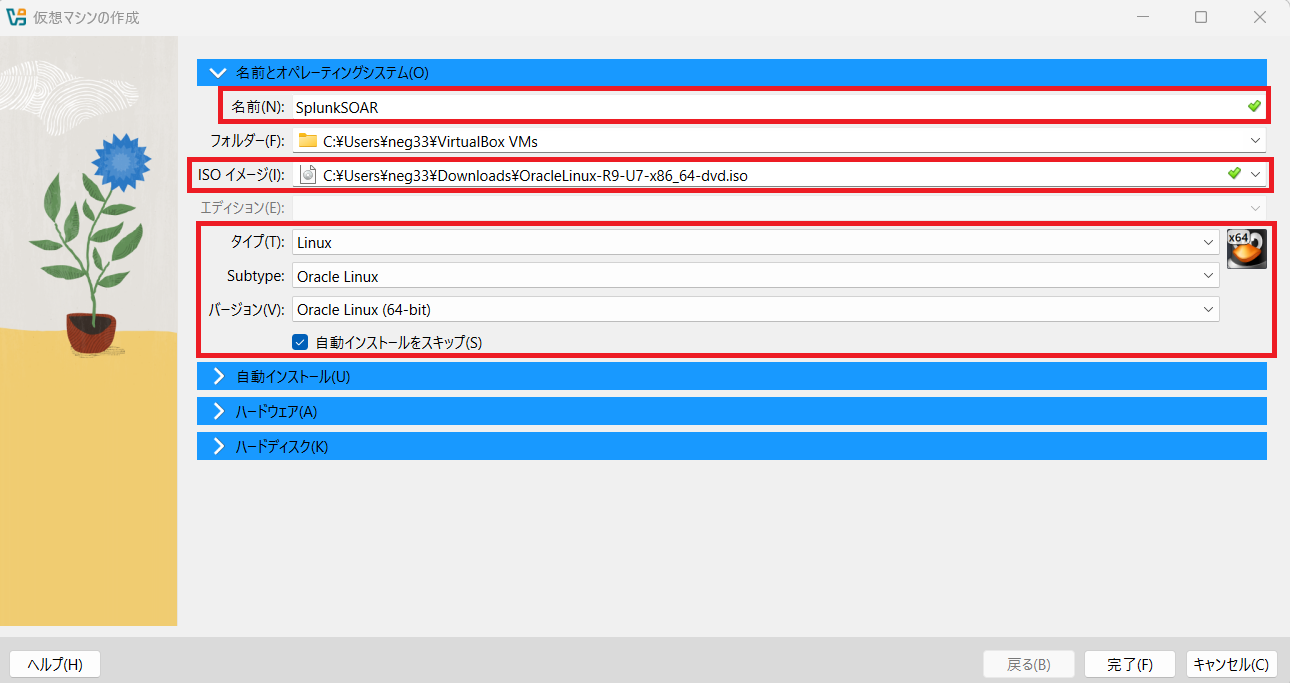
(4) 「ハードウェア」欄に、任意のメモリ及びCPUコア数を設定します。
(5) 「ハードディスク」欄に、ディスク容量を設定する。その後、「完了」をクリックします。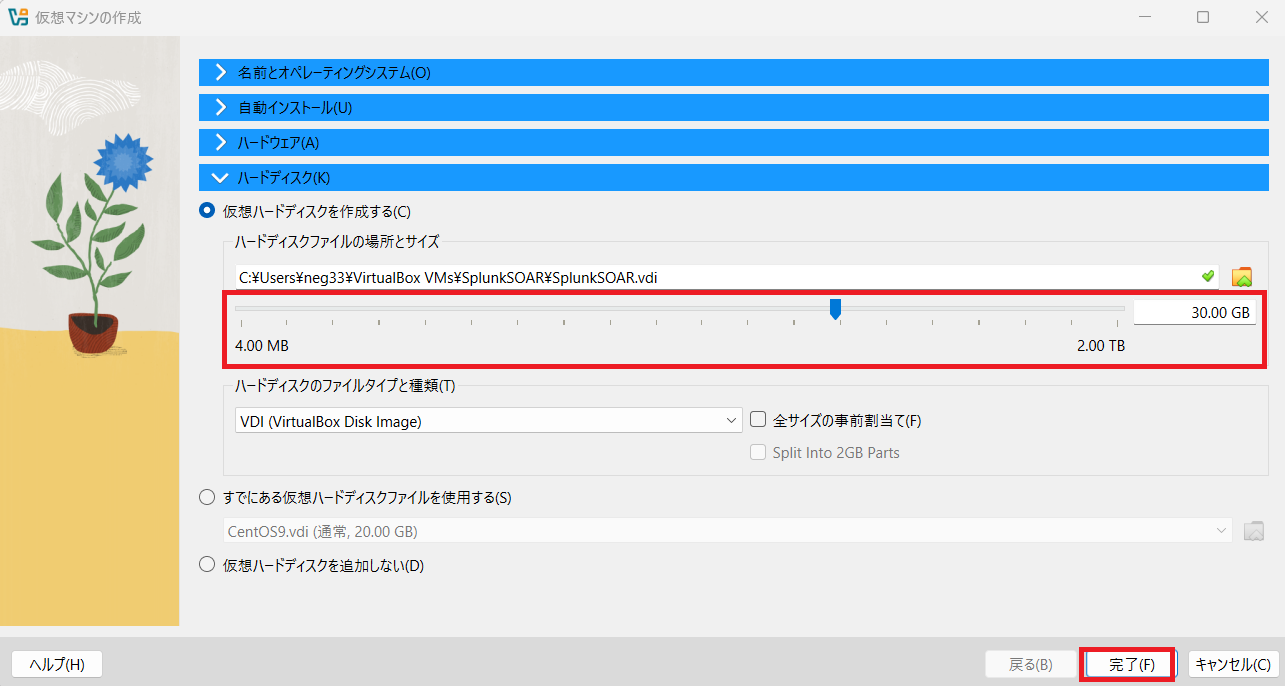
(6) 作成した仮想マシンを選択し、「設定」をクリックします。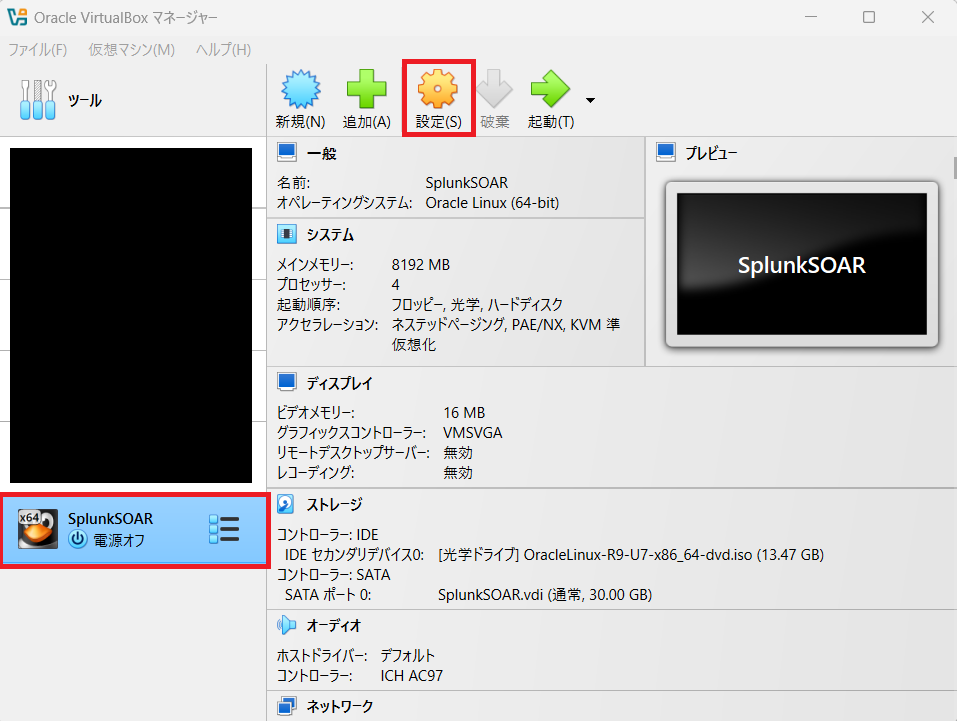
(7) 「ストレージ」をクリックして、ディスク追加のアイコンをクリックします。
(8) 仮想ハードウェアの作成画面が表示されることを確認します。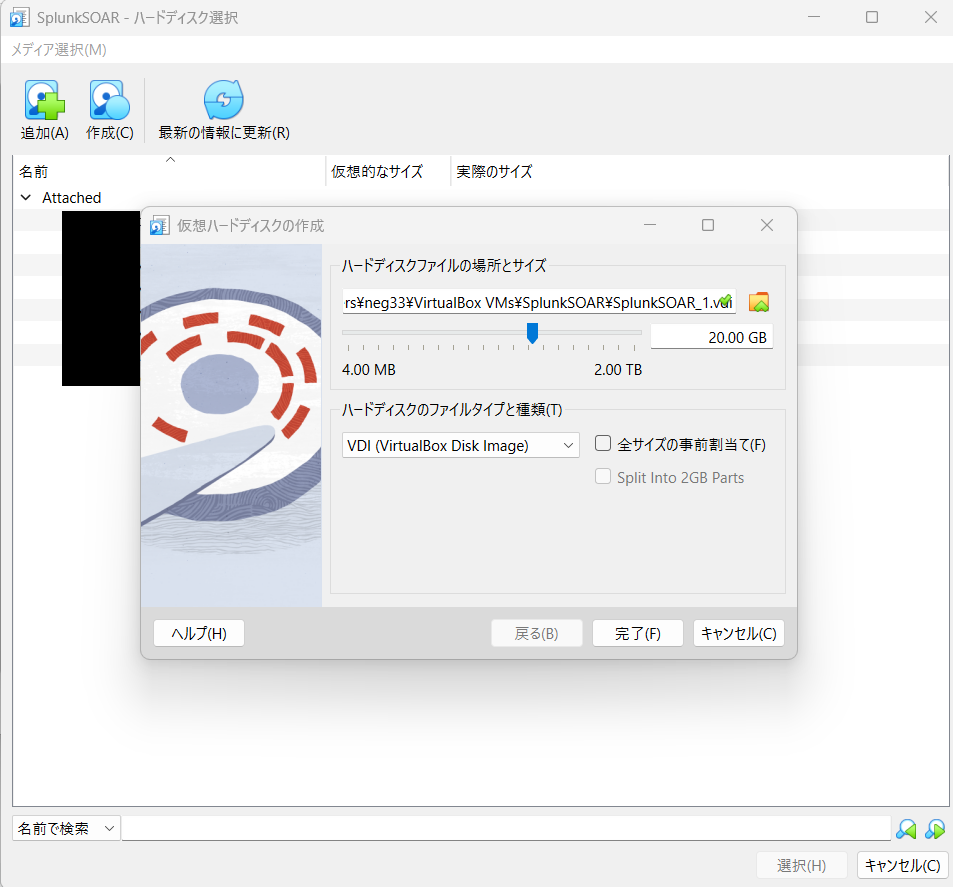
(9) ハードウェアディスクのディスク容量を設定して、「完了」をクリックします。
※Splunk SOARのシステム要件で500GB以上の空き容量が必要なため、十分な容量を設定してください。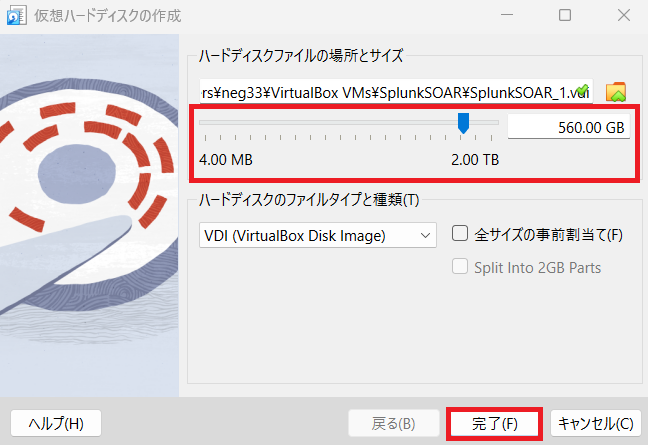
(10) 作成した仮想ハードディスクを選択し、「選択」をクリックします。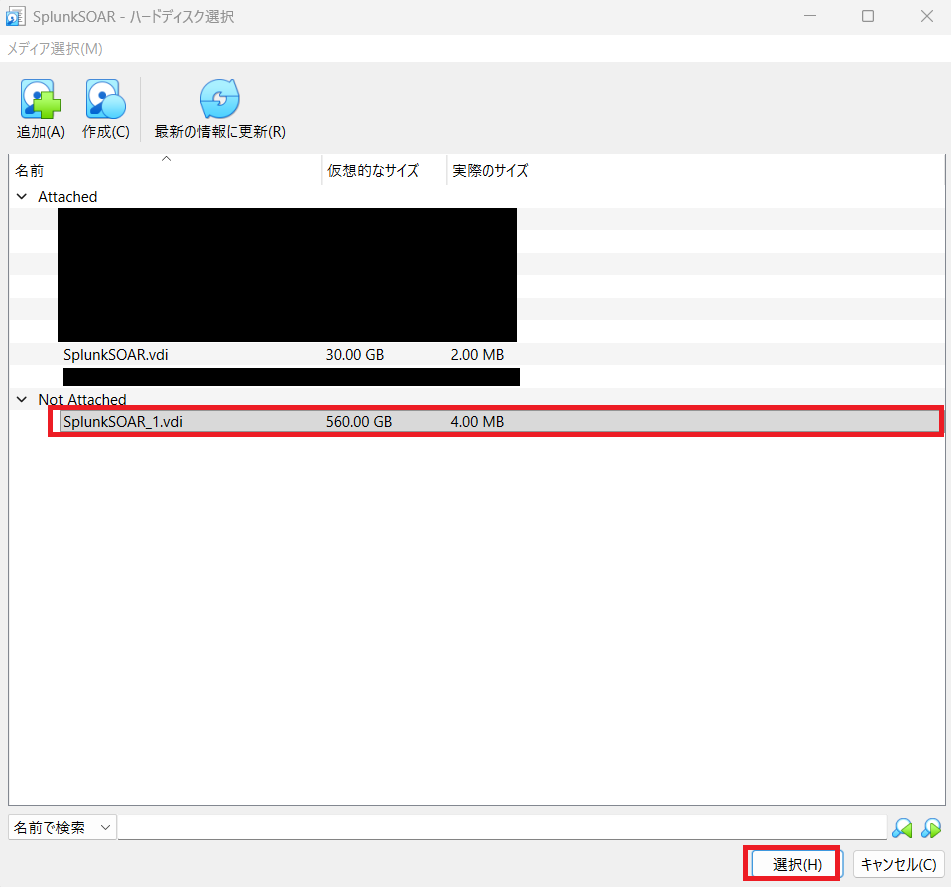
(11) 作成した仮想ハードディスクが表示されていることを確認します。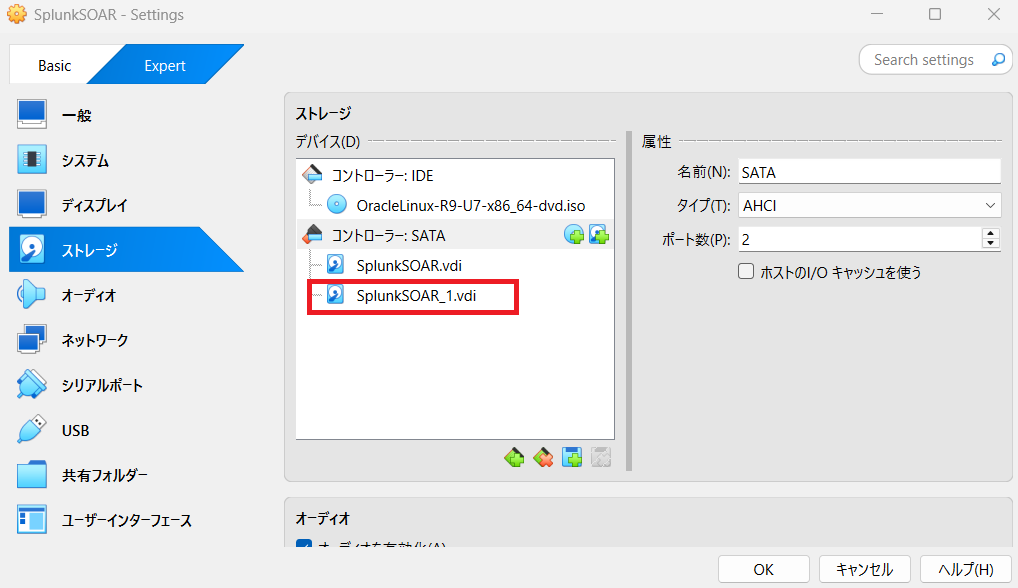
(12) 「ネットワーク」をクリックして、「ポートフォワーディング」をクリックします。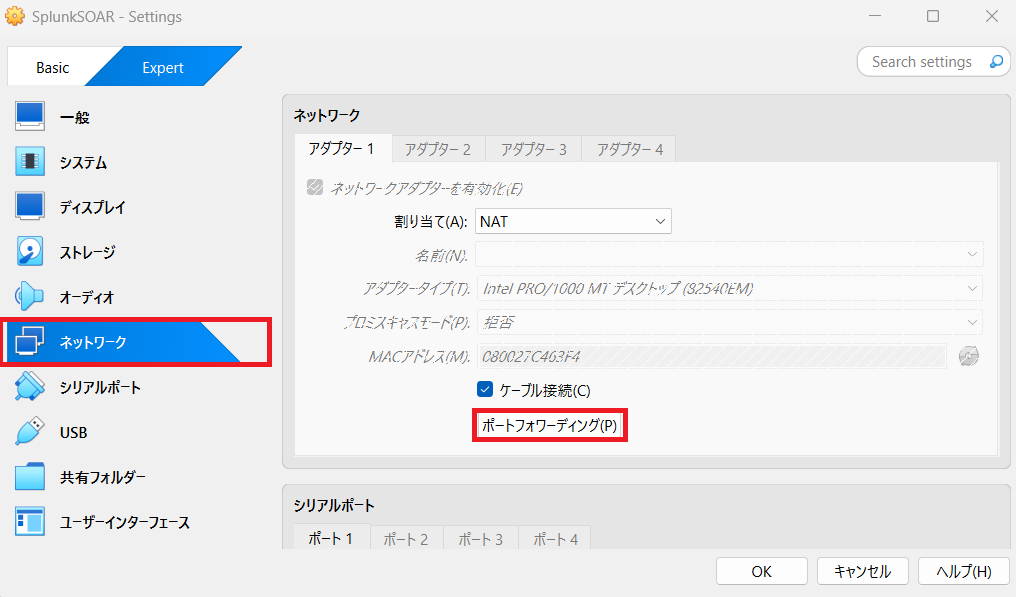
(13) ポートフォワードの設定をして、「OK」をクリックします。今回は「IPアドレス:127.0.0.1」の22/tcpと8443/tcpにアクセスした際に仮想マシンにアクセスするように設定します。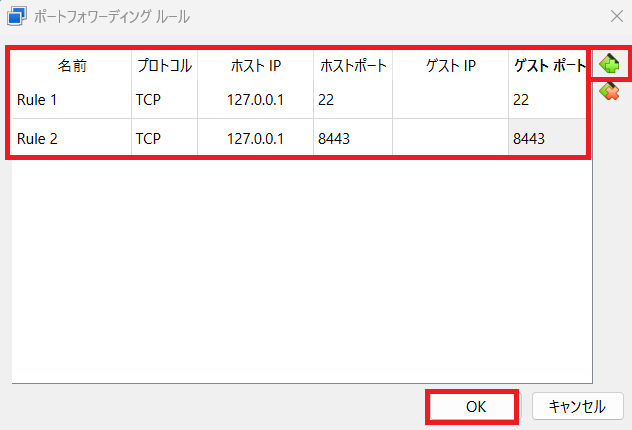
(14) 作成した仮想マシンをクリックし、「起動」をクリックします。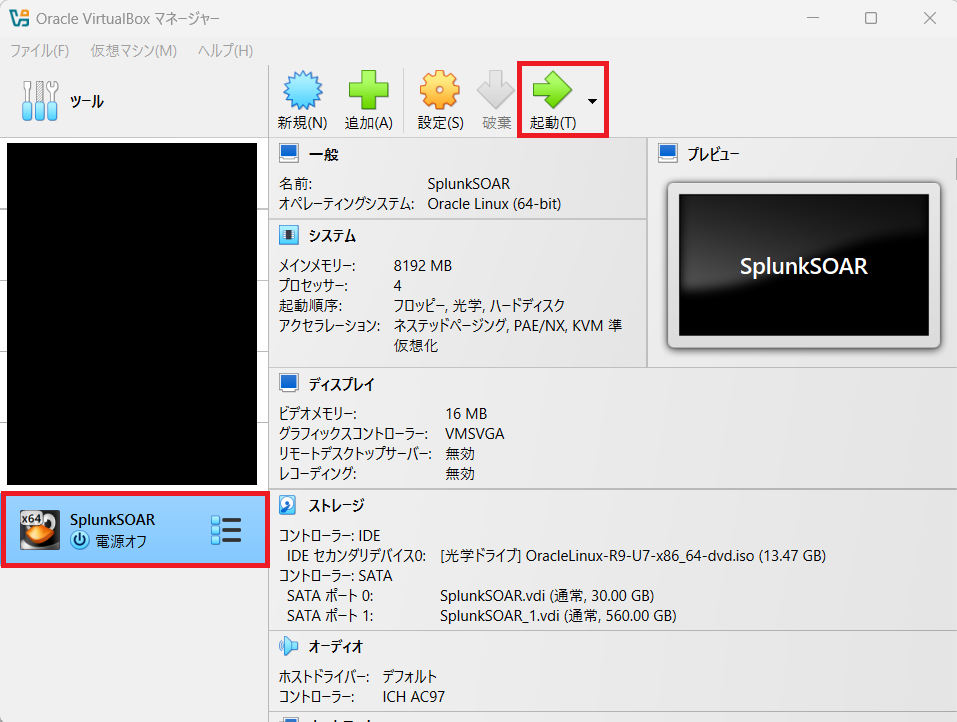
(15) 「Install Oracle Linux 9.7.0 in FIPS mode」を選択します。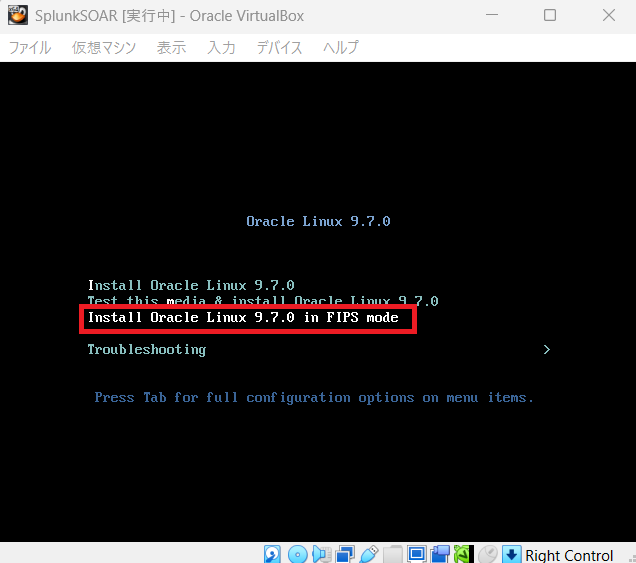
(16) 「日本語」-「日本語(日本)」を選択して、「続行」をクリックします。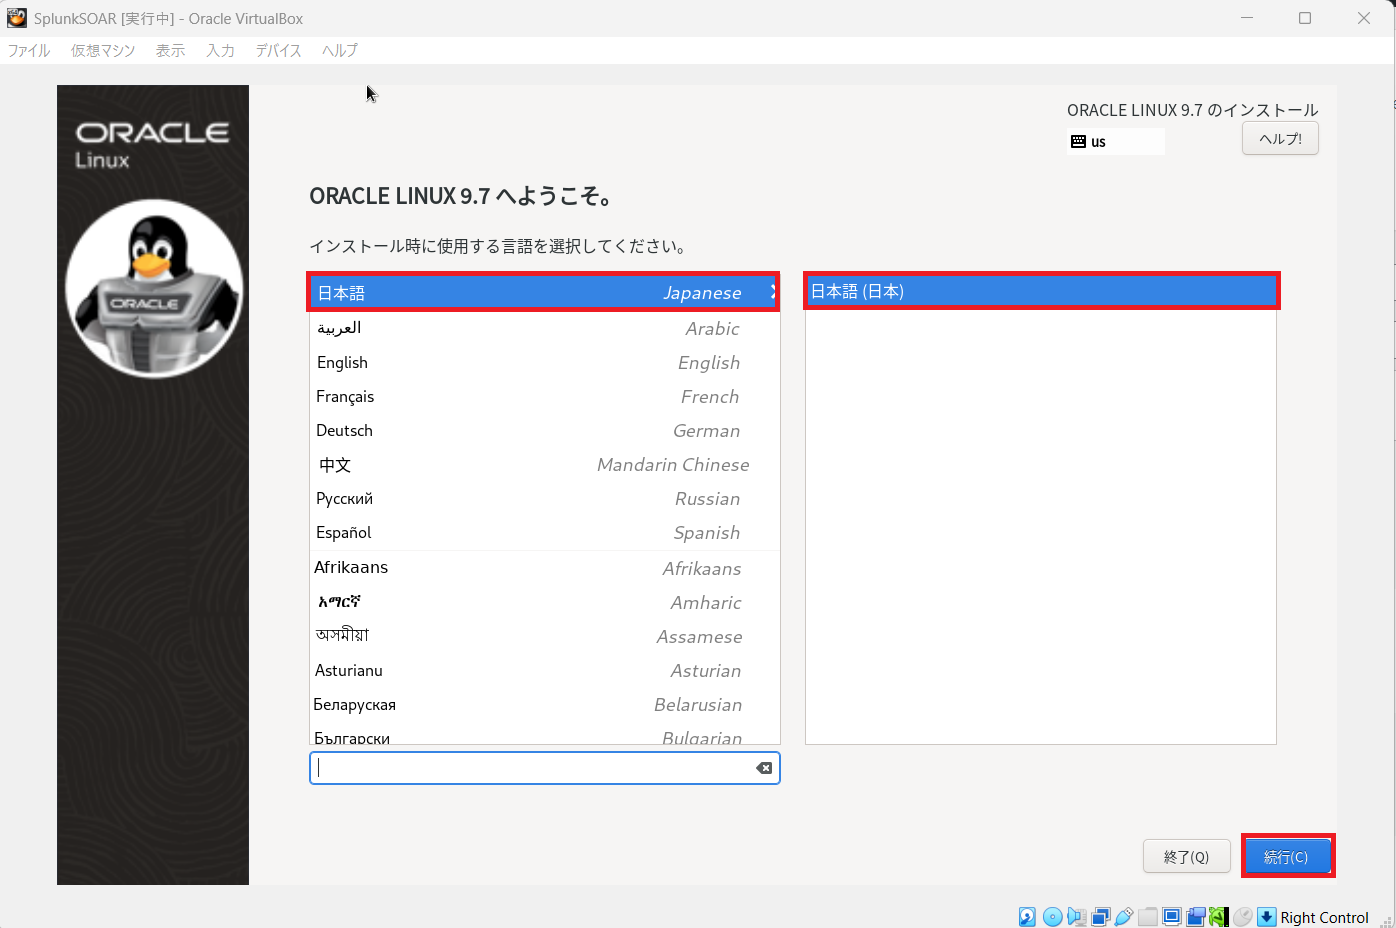
(17) 「インストール先」をクリックします。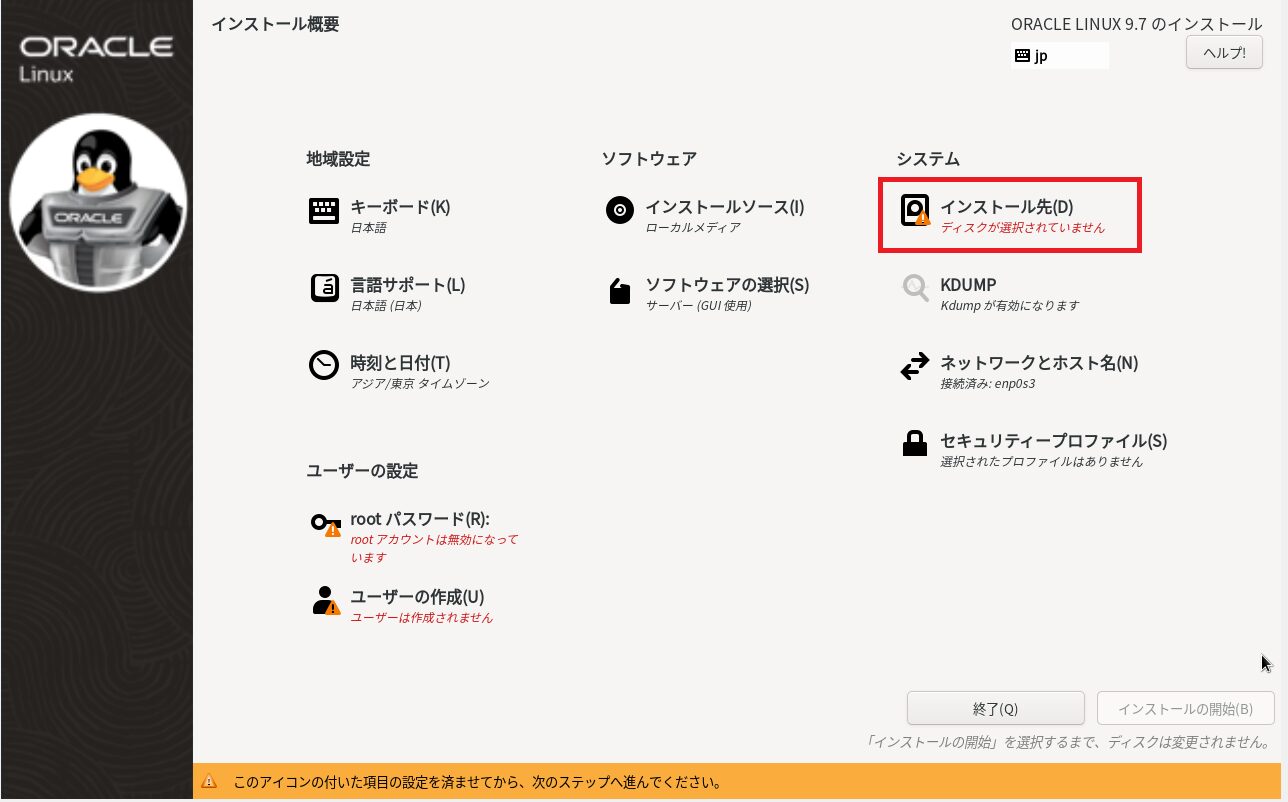
(18) 「ローカルの標準ディスク」を選択して、「完了」をクリックします。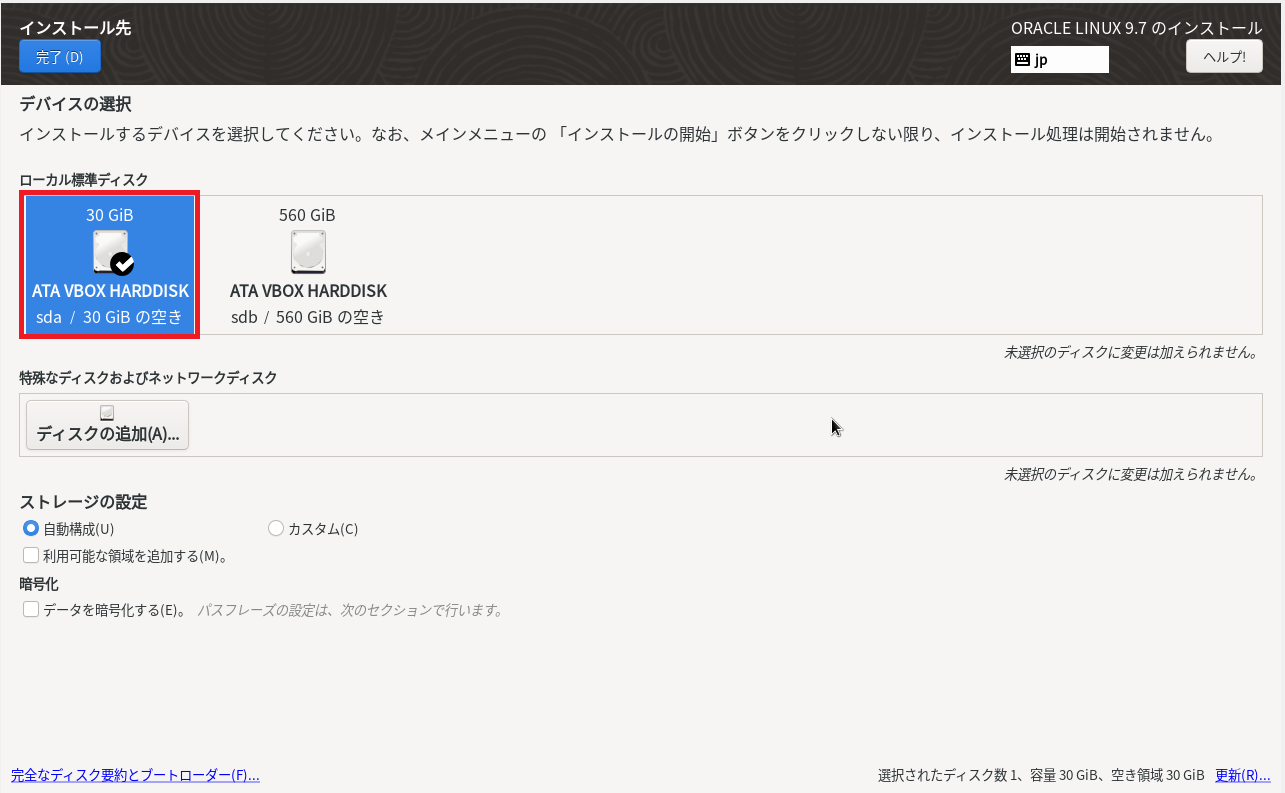
(19) 「root パスワード」をクリックします。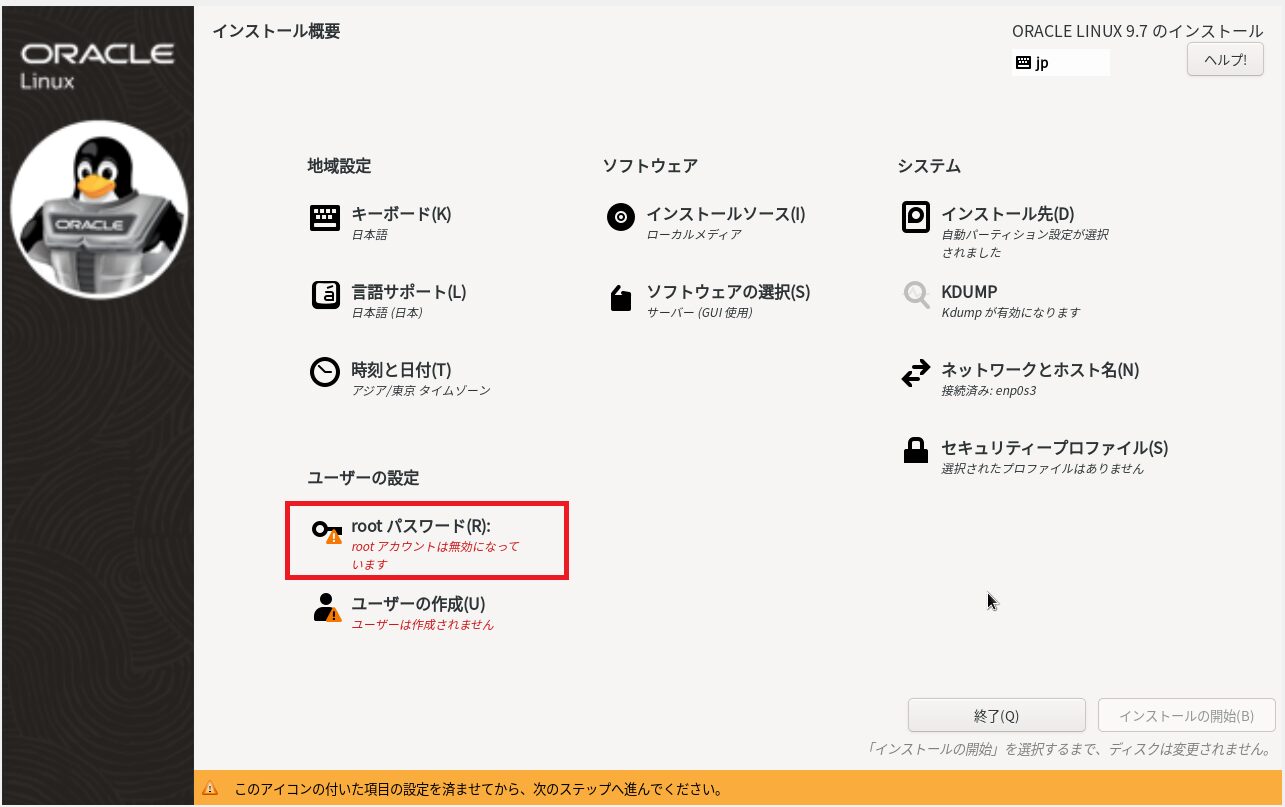
(20) rootユーザーのパスワードなどを設定して、「完了」をクリックする。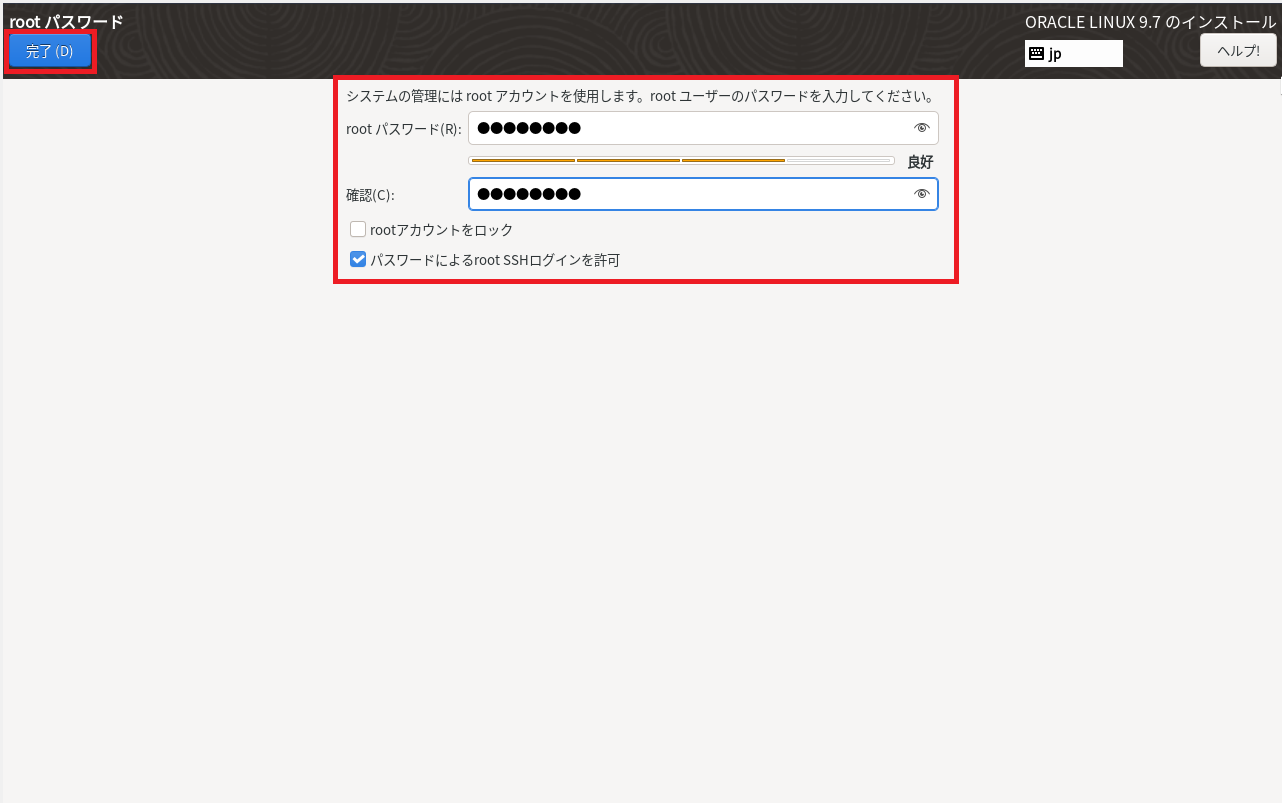
(21) 「ソフトウェアの選択」をクリックします。
(22) 「最小限のインストール」を選択して、「完了」をクリックします。
不要なソフトウェアをインストールすると、ディスク容量を使用し、ソフトウェアの脆弱性が増える可能性があるため、「最小限のインストール」でインストールすることを推奨します。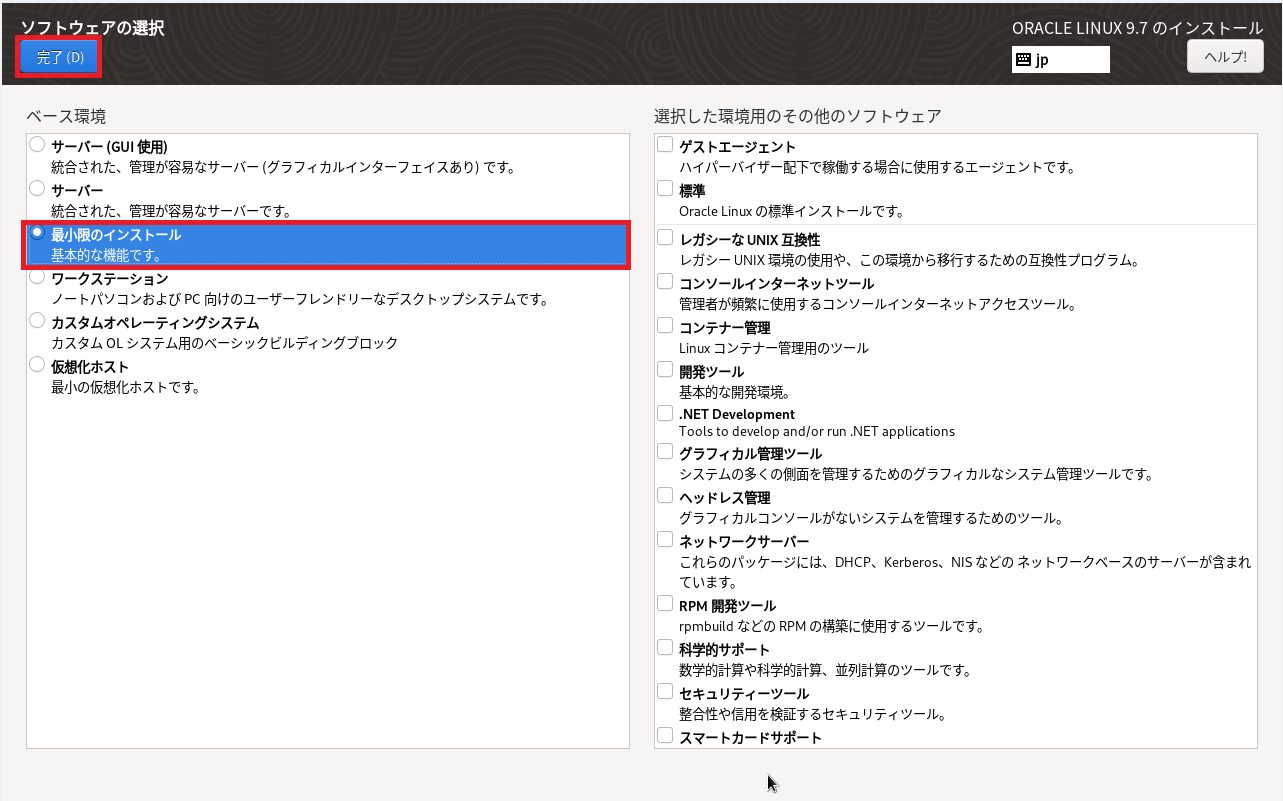
(23) 「ソフトウェアの選択」欄が「最小限のインストール」という表記になっていることを確認して、「インストールの開始」をクリックします。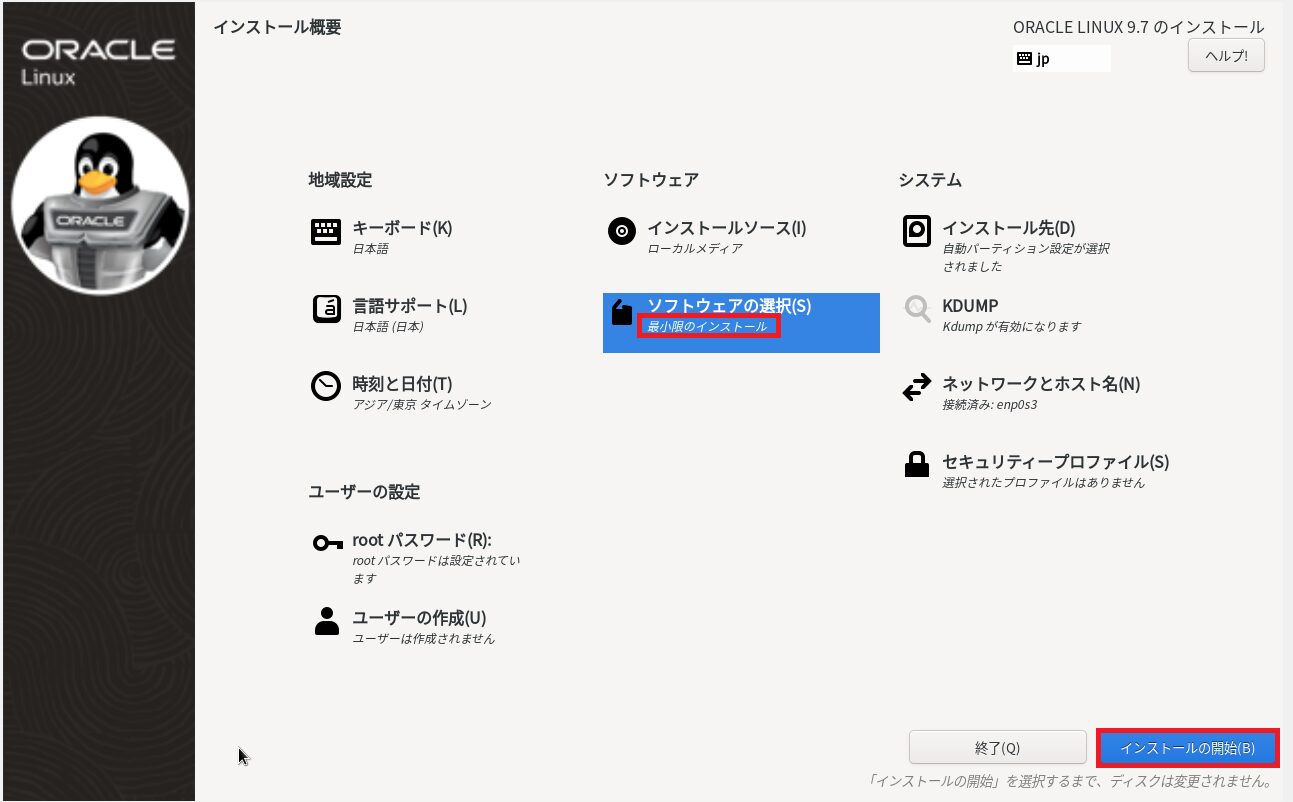
(24) インストールが完了するまで待って、「システムの再起動」をクリックします。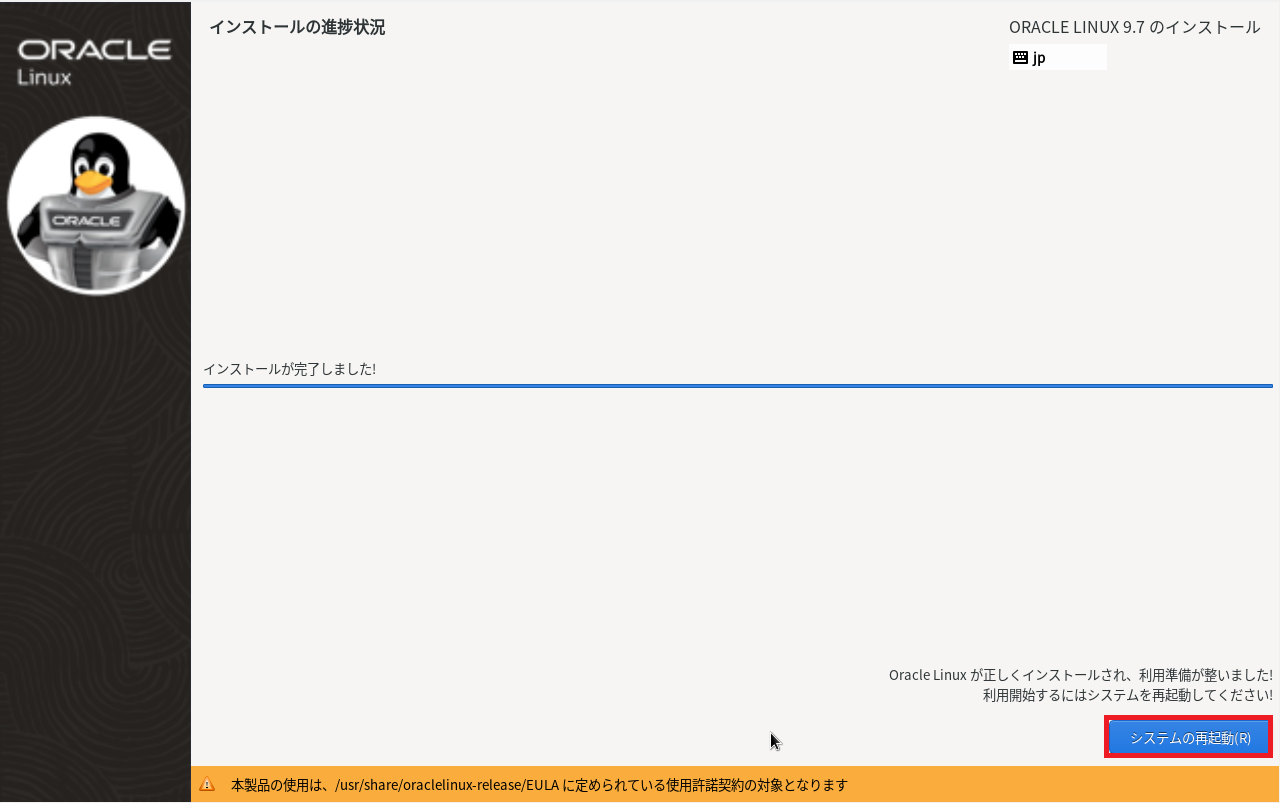
Splunk SOARインストール用ディスクのマウント
(1) 現在利用できるブロックデバイスを一覧を確認すると、Splunk SOAR用に作成したデバイス(sdb)があることが分かります。
$ lsblk
NAME             MAJ:MIN RM  SIZE RO TYPE MOUNTPOINTS
sda                8:0    0   30G  0 disk
tqsda1             8:1    0    1G  0 part /boot
mqsda2             8:2    0   29G  0 part
  tqol_vbox-root 252:0    0   26G  0 lvm  /
  mqol_vbox-swap 252:1    0    3G  0 lvm  [SWAP]
sdb                8:16   0  560G  0 disk
sr0               11:0    1 1024M  0 rom
(2) Splunk SOAR用に作成したデバイス(/dev/sdb)をフォーマットします。
# sudo mkfs.xfs /dev/sdb
meta-data=/dev/sdb               isize=512    agcount=4, agsize=36700160 blks
         =                       sectsz=512   attr=2, projid32bit=1
         =                       crc=1        finobt=1, sparse=1, rmapbt=0
         =                       reflink=1    bigtime=1 inobtcount=1 nrext64=0
data     =                       bsize=4096   blocks=146800640, imaxpct=25
         =                       sunit=0      swidth=0 blks
naming   =version 2              bsize=4096   ascii-ci=0, ftype=1
log      =internal log           bsize=4096   blocks=71680, version=2
         =                       sectsz=512   sunit=0 blks, lazy-count=1
realtime =none                   extsz=4096   blocks=0, rtextents=0
(3) Splunk SOAR用に作成したデバイス(/dev/sdb)をマウントします。
# sudo mkdir /mnt/splunk


# sudo mount -t xfs /dev/sdb /mnt/splunk
(4) dfコマンドでSplunk SOAR用に作成したデバイス(/dev/sdb)が表示されていることを確認します。
# df -h
ファイルシス             サイズ  使用  残り 使用% マウント位置
devtmpfs                   4.0M     0  4.0M    0% /dev
tmpfs                      3.7G     0  3.7G    0% /dev/shm
tmpfs                      1.5G  8.6M  1.5G    1% /run
/dev/mapper/ol_vbox-root    26G  2.2G   24G    9% /
/dev/sda1                  960M  324M  637M   34% /boot
tmpfs                      749M     0  749M    0% /run/user/0
/dev/sdb                   560G  4.0G  556G    1% /mnt/splunk
Splunk SOARインストール
(1) Splunk SOARのファイル一式を取得するために必要なソフトウェア(wgetとtar)をインストールします。
$ sudo dnf install -y wget tar
(2) ブラウザを用いて「https://www.splunk.com/ja_jp/download.html」にアクセスします。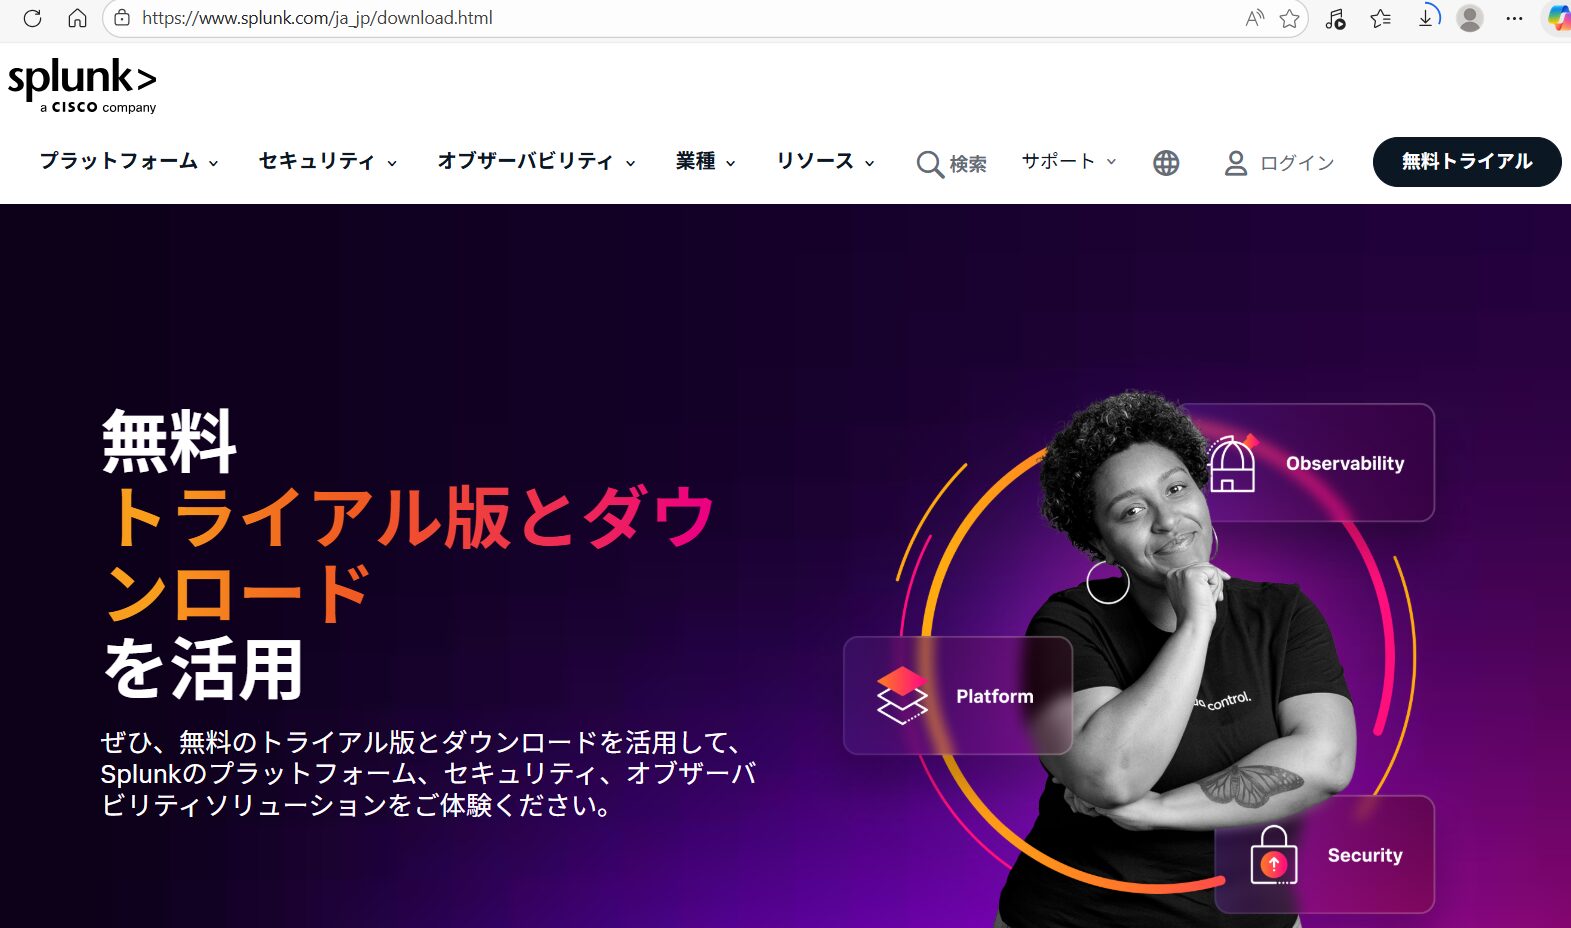
(3) 下部にある[セキュリティ] > [Splunk SOAR]の「ダウンロードを開始」をクリックします。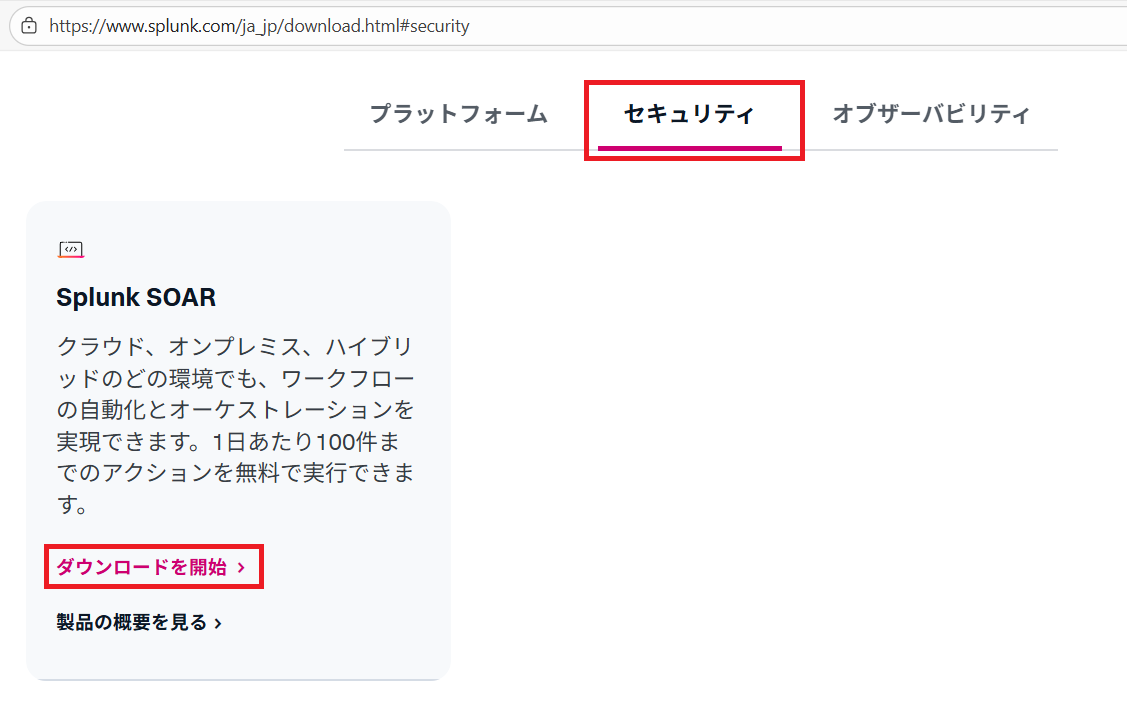
(4) メールアドレスや氏名など必要な情報を入力します。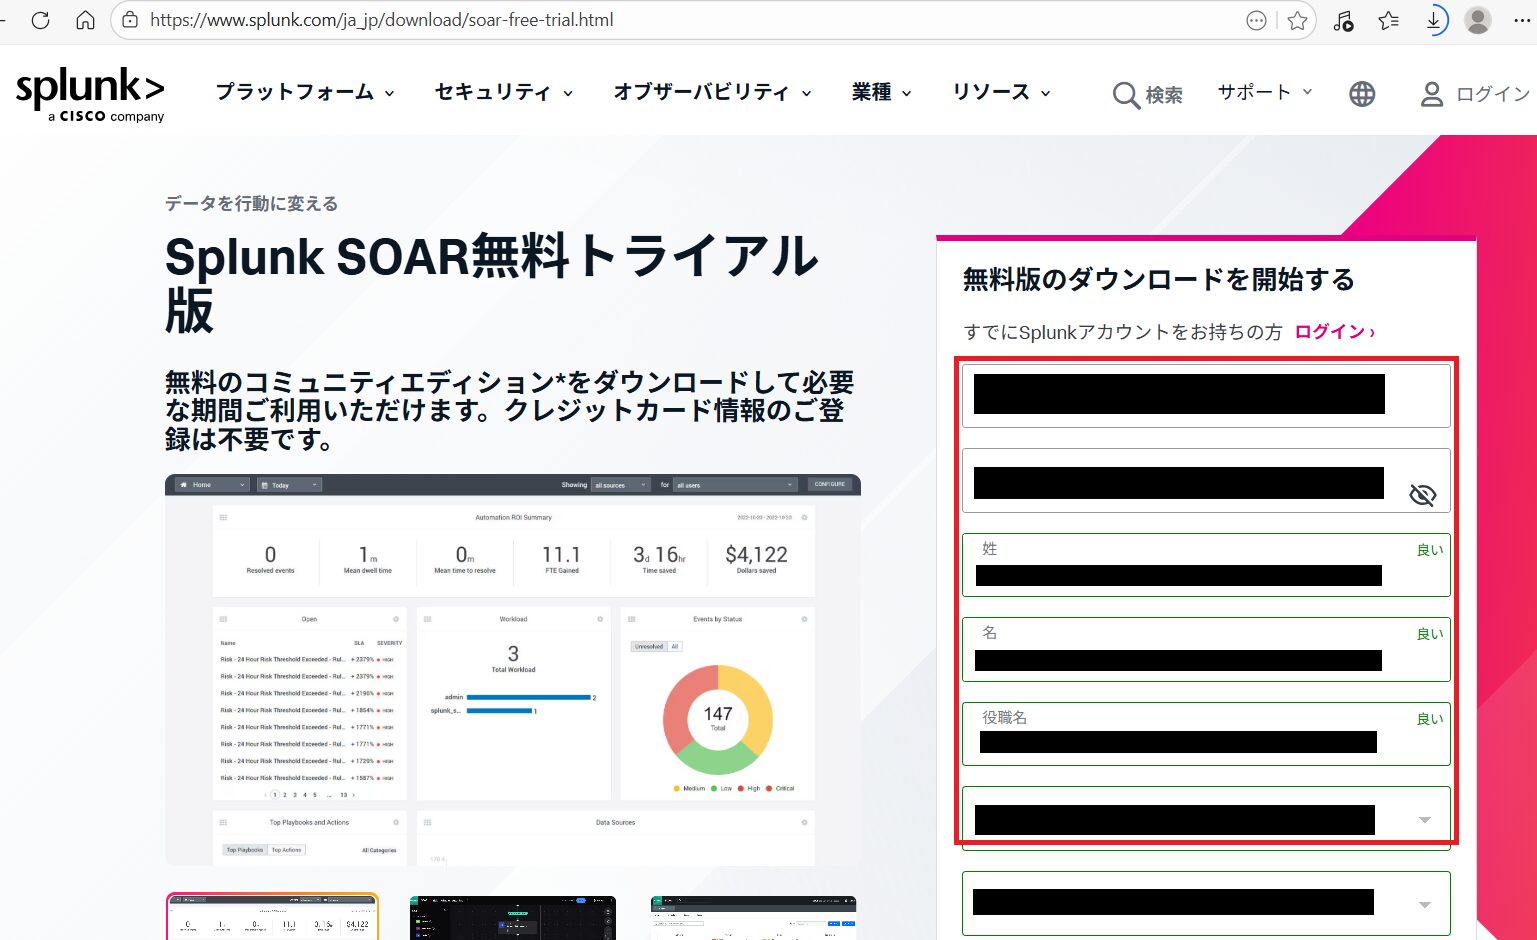
(5) 下部にある「アカウントの作成」をクリックします。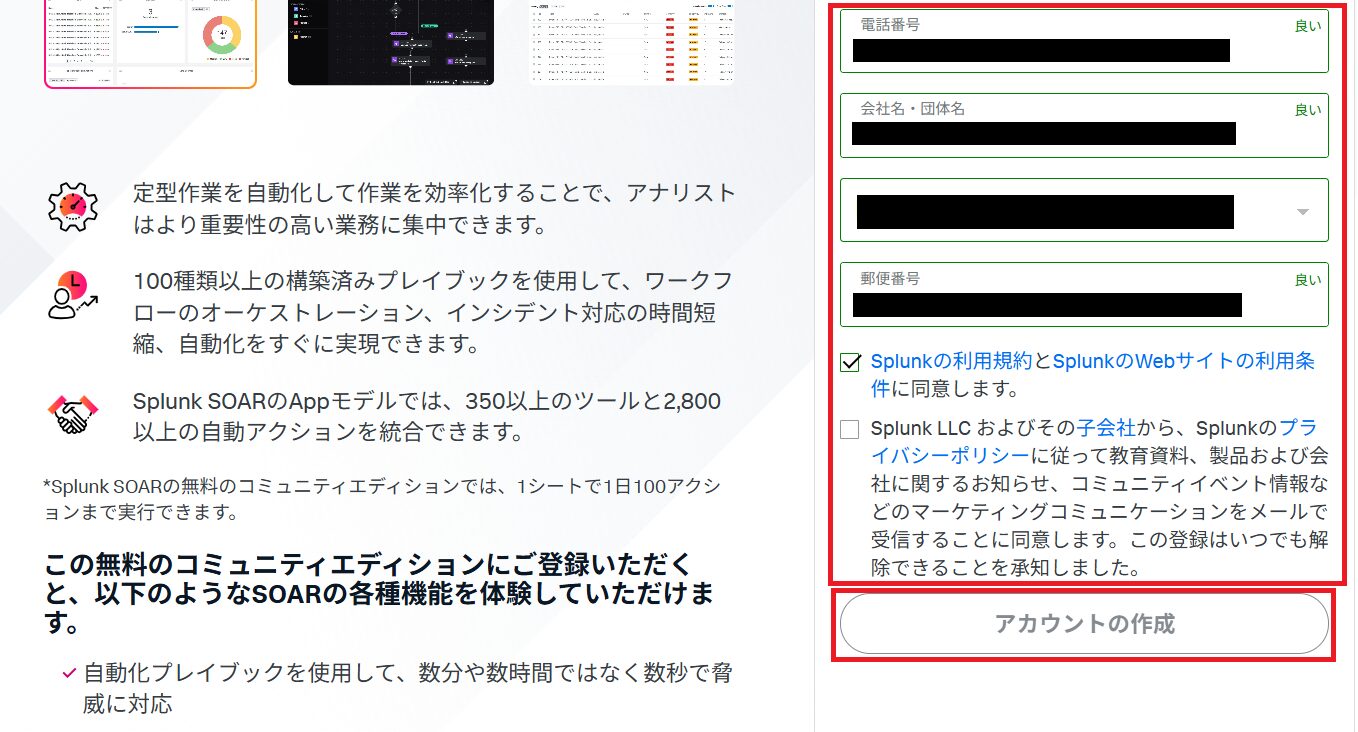
(6) 入力したメールアドレス宛にアカウント登録の情報が送られるため、アカウントを作成します。
(7) ダウンロード用のWebサイト(https://www.splunk.com/ja_jp/download/soar-free-trial.html?locale=ja_jp)にアクセスします。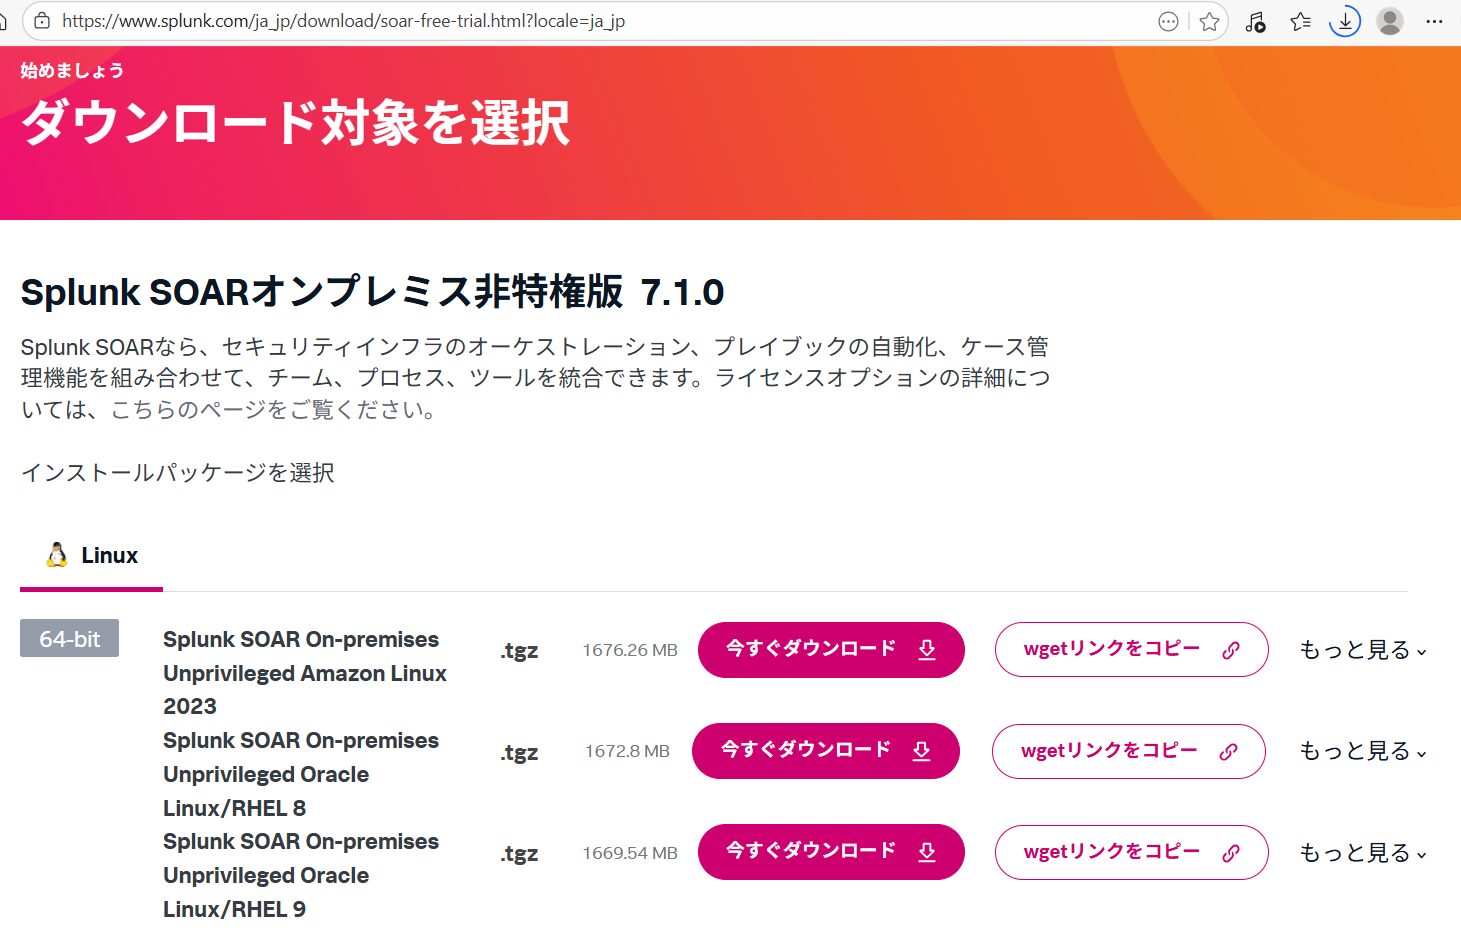
(8) 「Splunk SOAR On-premises Unprivileged Oracle Linux/RHEL 9」欄の「wgetリンクをコピー」をクリックします。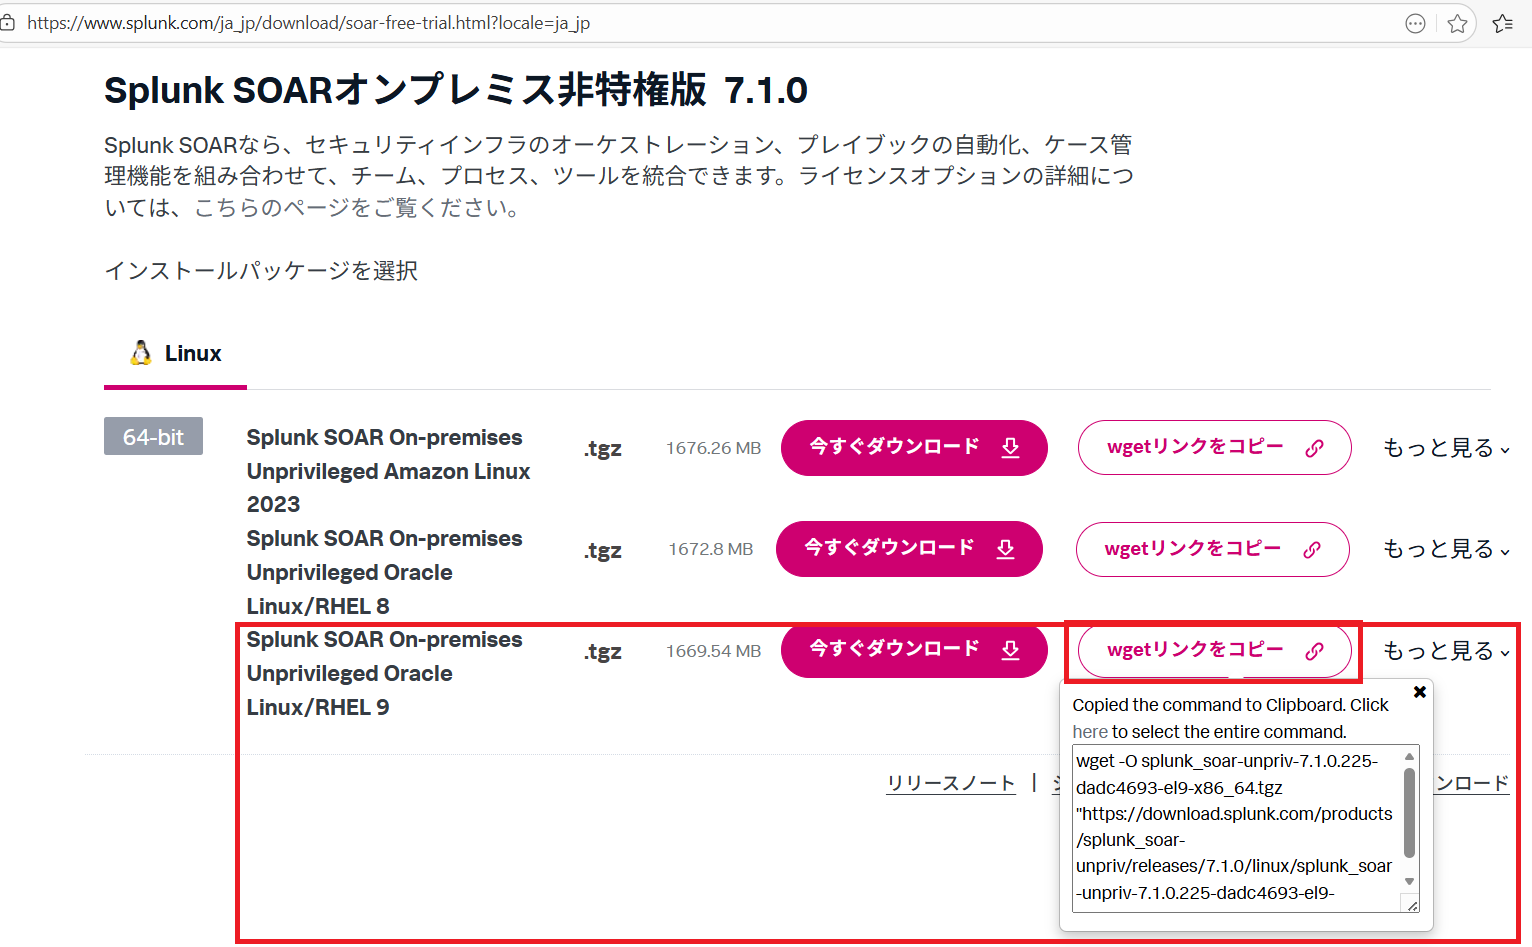
(9) Splunk SOAR用に作成したデバイス上にSplunk SOARのファイル一式をダウンロードします。
$ cd /mnt/splunk


$ wget -O splunk_soar-unpriv-7.1.0.225-dadc4693-el9-x86_64.tgz "https://download.splunk.com/products/splunk_soar-unpriv/releases/7.1.0/linux/splunk_soar-unpriv-7.1.0.225-dadc4693-el9-x86_64.tgz"
(10) firewalldサービスがインストールされており、起動していることを確認します。
$ systemctl status firewalld
● firewalld.service - firewalld - dynamic firewall daemon
     Loaded: loaded (/usr/lib/systemd/system/firewalld.service; enabled; preset: enabled)
     Active: active (running) since Sat 2025-12-27 16:27:16 JST; 20h ago
       Docs: man:firewalld(1)
   Main PID: 765 (firewalld)
      Tasks: 2 (limit: 23100)
     Memory: 40.2M (peak: 60.8M)
        CPU: 938ms
     CGroup: /system.slice/firewalld.service
             mq765 /usr/bin/python3 -s /usr/sbin/firewalld --nofork --nopid

12月 27 16:27:15 localhost systemd[1]: Starting firewalld - dynamic firewall daemon...
12月 27 16:27:16 localhost systemd[1]: Started firewalld - dynamic firewall daemon.
(11) もしfirewalldがインストールされていない、またはサービス起動していない場合は、サービスを起動します。
firewalldデーモンをインストールする。
$ sudo yum install firewalld


firewalldサービスを起動する。
$ sudo systemctl start firewalld


firewalldサービスの自動起動を有効化する。
$ sudo systemctl enable firewalld
(12) Federal Information Processing Standard (FIPS)モードが有効化されていることを確認します。「1」が取得されると有効化されており、「0」が出力されると無効化になっている。
$ cat /proc/sys/crypto/fips_enabled
1
(13) Oracle Linux上のソフトウェアをアップデートします。
$ sudo yum clean all


$ sudo yum update -y
(14) ダウンロードしたSplunk SOARのファイル一式を解凍します。
$ tar -xzvf ./splunk_soar-unpriv-7.1.0.225-dadc4693-el9-x86_64.tgz


$ cd splunk-soar
(15) Splunk SOARをインストールするために各設定をします。「Done preparing system for installation of Splunk SOAR 7.1.0.225!」というメッセージが表示されると準備が完了になります。
# ./soar-prepare-system --splunk-soar-home /mnt/splunk --https-port 8443
Do you wish to proceed? (y/N):
  →「y」を入力して[Enter]
Download packages available in the default CentOS and RHEL repos (Y/n):
  →「Y」を入力して[Enter]
GlusterFS is only needed if you are using an external file share. This is common if you're constructing a Splunk SOAR cluster.
Do you want to run this step? (Y/n):
  →「n」を入力して[Enter]
Enable the sysstat service. Required if you want to forward Splunk Addon For Linux Logs.
Do you want to run this step? (Y/n):
  →「Y」を入力して[Enter]
Ensure that the required ports are opened in firewalld. Do not run if not using firewalld.
Do you want to run this step? (Y/n):
  →「Y」を入力して[Enter]
Make Splunk SOAR available on the default HTTPS port (443) in addition to the configured port. Do not run if not using firewalld or if creating a cluster.
Do you want to run this step? (Y/n):
  →「Y」を入力して[Enter]
Create a non-privileged user for running Splunk SOAR (On-premises). (Y/n):
  →「Y」を入力して[Enter]
Do you want to set a password for 'phantom' now? (Y/n):
  →「Y」を入力して[Enter]
ユーザー phantom のパスワードを変更。
新しい パスワード:
  →任意のパスワードを入力して[Enter]
新しい パスワードを再入力してください:
  →任意のパスワードを入力して[Enter]
Set system resource limits for Splunk SOAR user, particularly file descriptor limits, which are low by default. (Y/n):
  →「Y」を入力して[Enter]
(16) 「en_US.UTF-8」のロケール依存情報を設定します。
# locale -a
ーーー(省略)ーーー
ja_JP.eucjp
ja_JP.utf8
ーーー(省略)ーーー


# sudo yum -y install glibc-locale-source


# sudo localedef -i en_US -c -f UTF-8 -A /usr/share/locale/locale.alias en_US.UTF-8
(17) phantomユーザーに変更します。
# su phantom
(18) Splunk SOARをインストールして、「Completed install of Splunk SOAR 7.1.0.225!」というメッセージが表示されることを確認します。
$ ./soar-install --splunk-soar-home /mnt/splunk --https-port 8443
You are about to install Splunk SOAR version 7.1.0.225.
  - Installation path: /mnt/splunk
  - HTTPS port: 8443

Do you wish to proceed? (y/N):
  →「y」を入力して[Enter]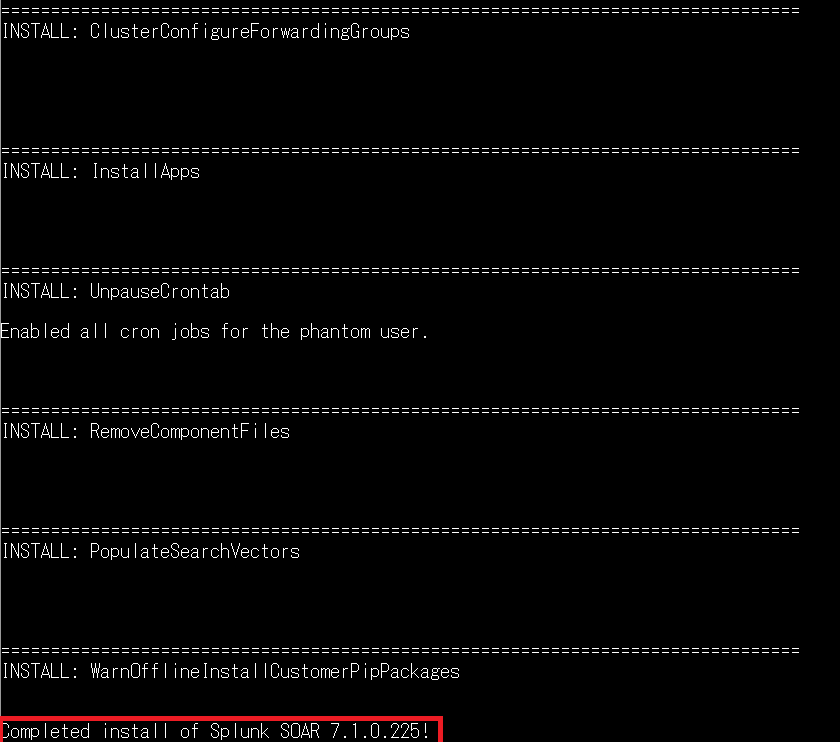
Splunk SOARの管理画面へのログイン
(1) ブラウザを用いて「https://127.0.0.1:8443/」にアクセスします。その後、「詳細設定」をクリックします。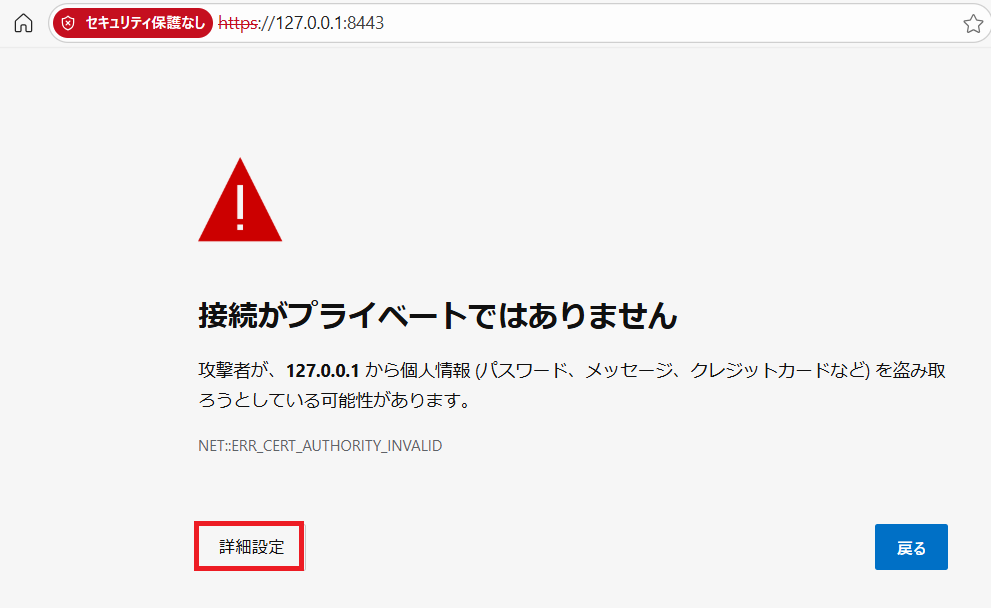
(2) 「127.0.0.1 にアクセスする(安全ではありません)」をクリックします。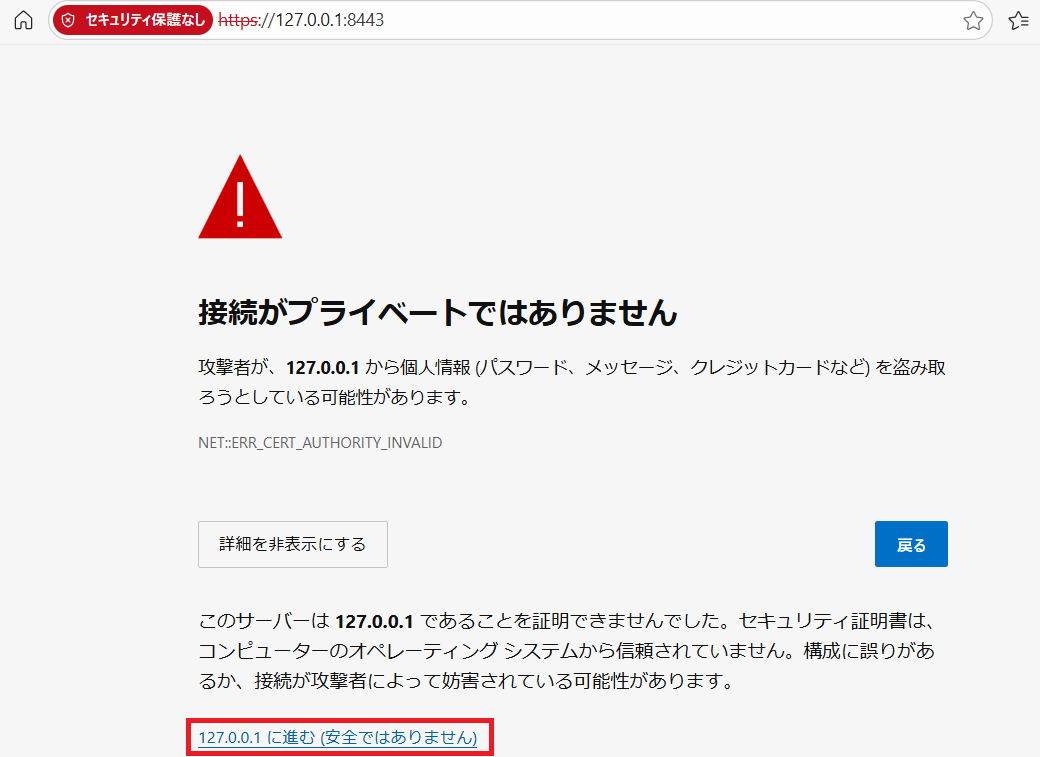
(3) 「ID: soar_local_admin」と「パスワード: password」を入力して、「Sign in」をクリックします。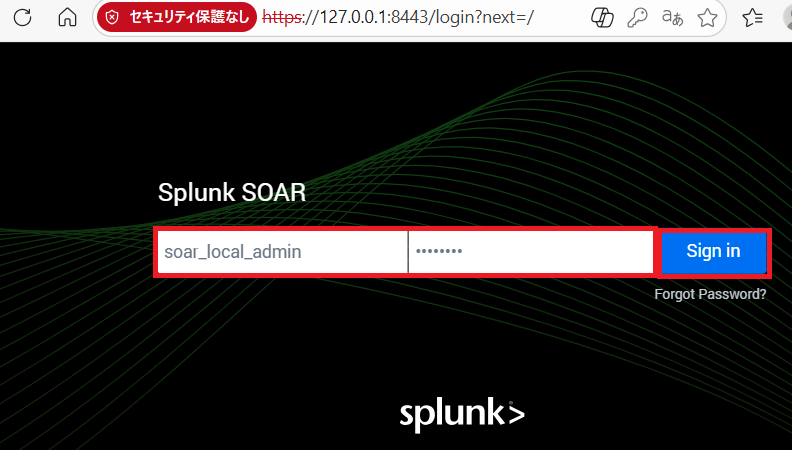
(4) 「Welcome to Splunk SOAR 7.1.0」というポップアップが表示されるため、「×」をクリックします。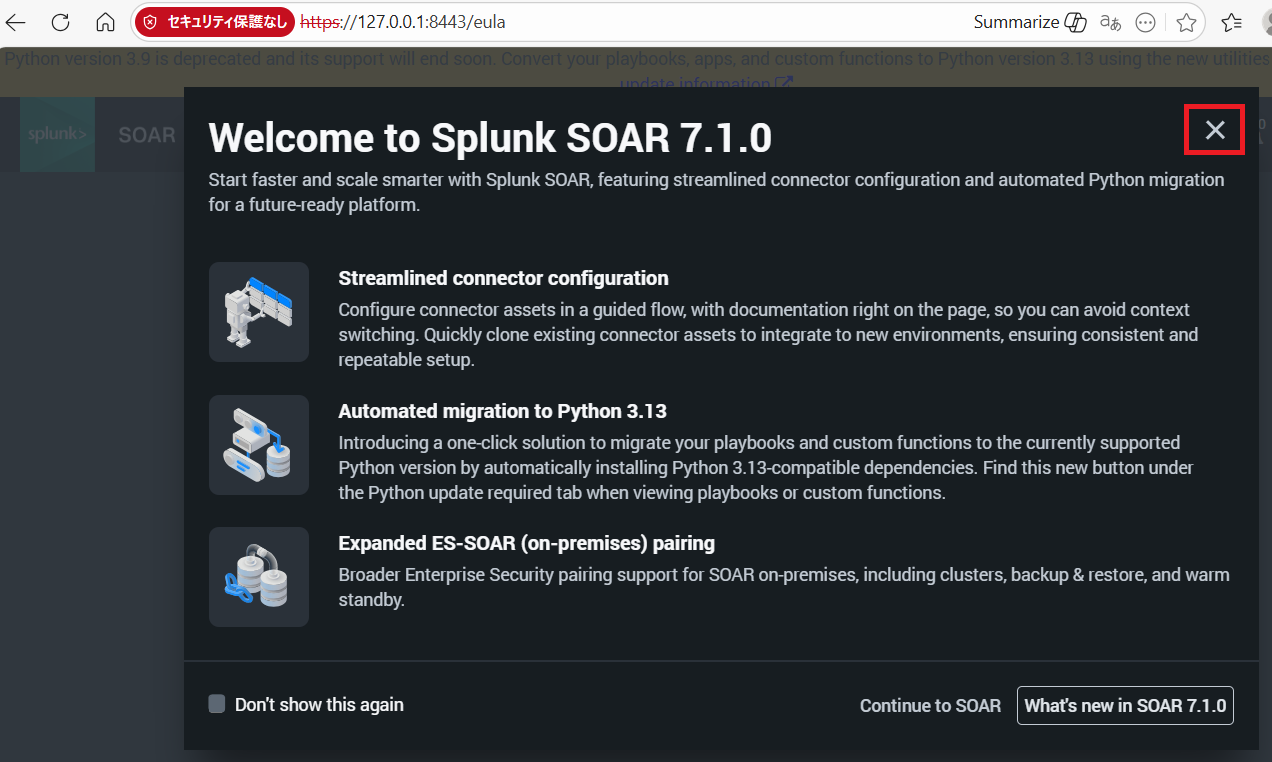
(5) 「Term & Conditions」をクリックして利用規約の内容を確認する。その後、「I ACCEPT」をクリックします。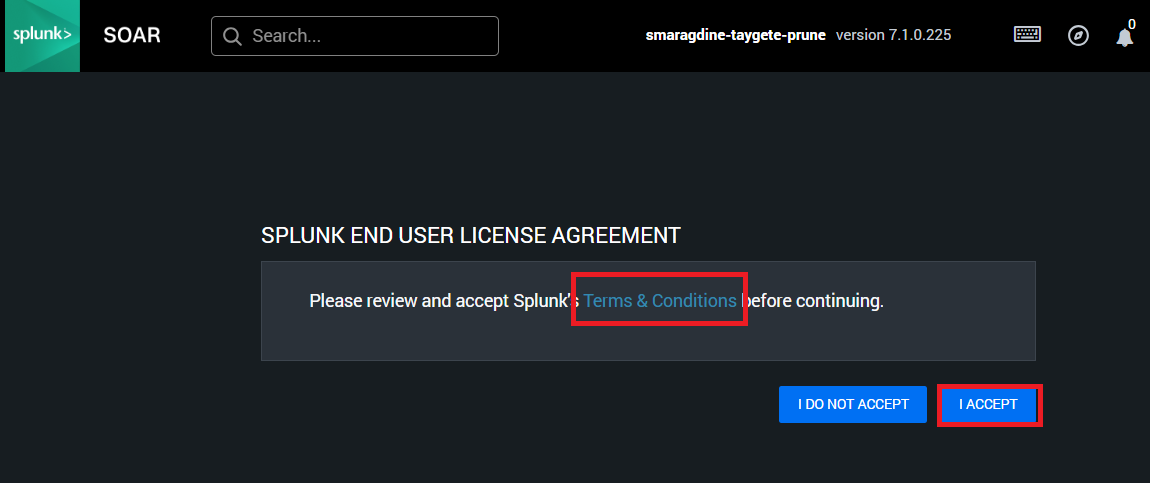
(6) 「GOT IT!」をクリックします。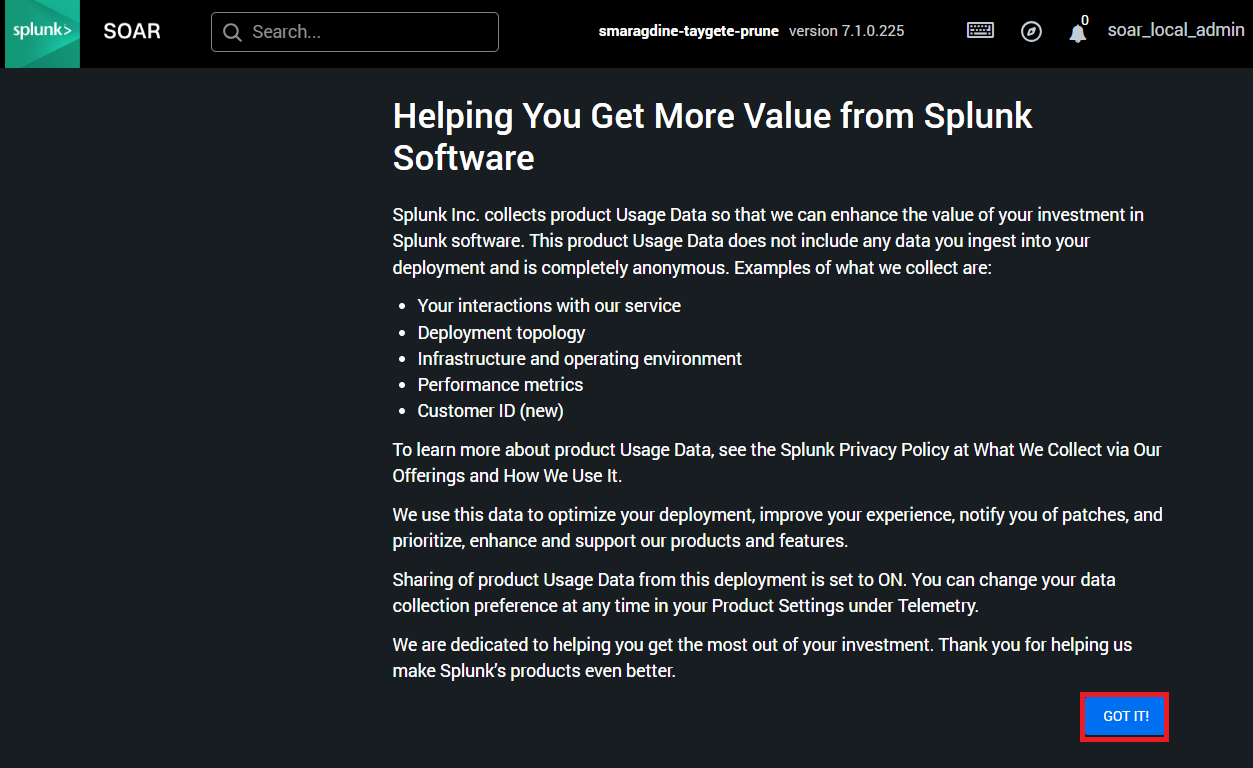
(7) ダッシュボード画面が表示されることを確認します。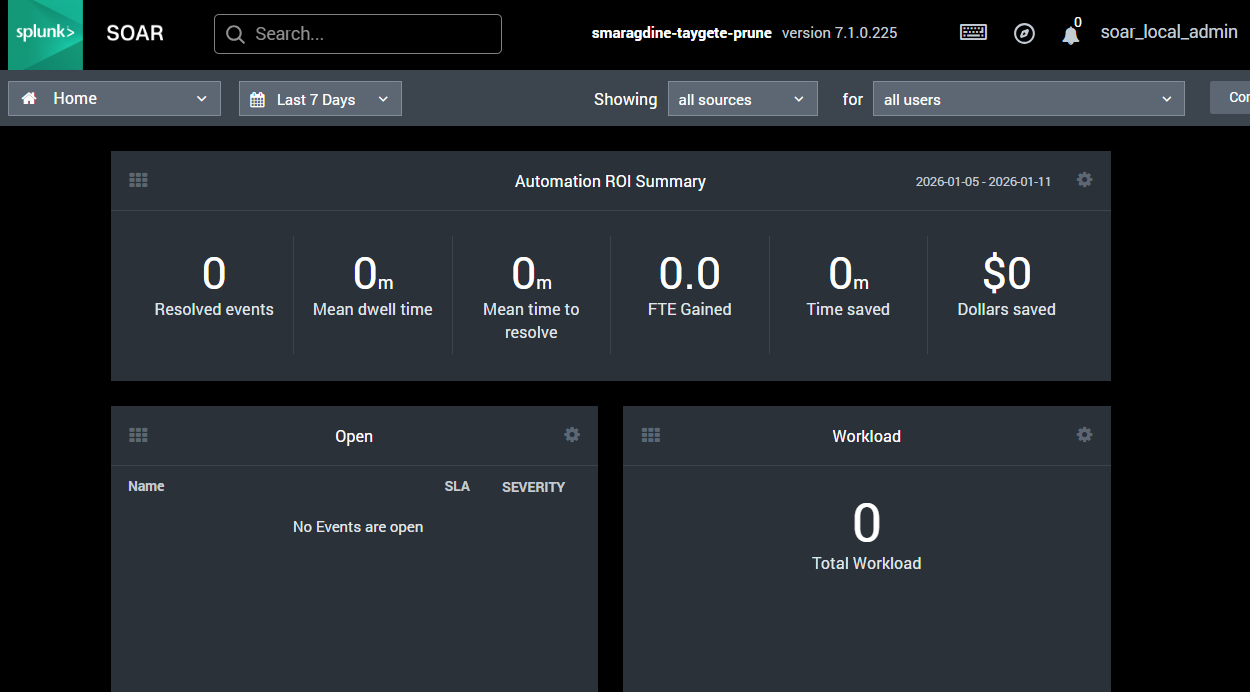
Splunk関連記事
【Splunk Cloud関連の記事】
| タイトル | URL |
|---|---|
| Splunk Cloudの評価版を使ってみた | https://security-blog-it.com/44290 |
| WindowsログをSplunk Cloudに送信 | https://security-blog-it.com/44597 |
| LinuxのログをSplunk Cloudに送信 | https://security-blog-it.com/44481 |
| Splunk Cloudのデータ検索(SPL基本構文) | https://security-blog-it.com/44602 |
| Splunk Cloudのアラート通知設定 | https://security-blog-it.com/44595 |
| Splunk Cloudのレポート作成 | https://security-blog-it.com/44701 |
【Splunk Enterprise関連の記事】
| タイトル | URL |
|---|---|
| Splunk Enterpriseの評価版を使ってみた | https://security-blog-it.com/45294 |
| WindowsのログをSplunk Enterpriseに送信 | https://security-blog-it.com/45947 |
| LinuxのログをSplunk Enterpriseに送信 | https://security-blog-it.com/45912 |
| Splunk Enterpriseの設定(セキュリティ監視用App:InfoSec) | https://security-blog-it.com/45750 |
| 簡易EDRツール(sysmon)とSplunk Enterpriseを用いたWindowsのセキュリティ監視 | https://security-blog-it.com/45990 |
| Splunk SOARの評価版を使ってみた | https://security-blog-it.com/44747 |
| Splunk EnterpriseとSplunk SOARの連携 | https://security-blog-it.com/45342 |
| Splunk SOARの設定(App/Add-Onインストール) | https://security-blog-it.com/45611 |
Splunk関連の書籍
Splunkに関する使い方を体系的に学びたい場合、以下の書籍がおすすめです。